If you have used an Advendio Trial and converted this into your production org, this article shows you how to delete the existing example data in salesforce environments with help of the tool data loader. As an administrator you can always also do this manually.
| Warning |
|---|
| Please always be careful while deleting data! Please create a backup first to be able to restore the data. |
| Table of Contents |
|---|
1.
...
Please login to Salesforce with your login credentials.
Login to Salesforce:
...
Open Incognito Tab or Window in your brower
2. Login to Dataloader
Please login to Dataloader with your salesforce sessioncredentials.
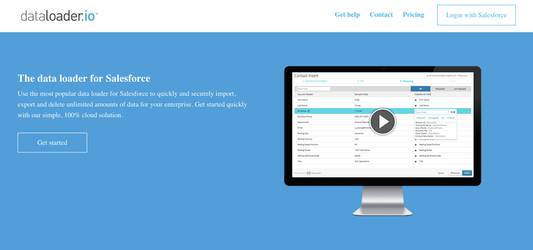
Navigate to Dataloader:
- Navigate to https://dataloader.io/and click the button Login with Salesforce.
...
- Select the checkbox I have a custom Salesforce domain and enter this information, if needed.
- Select, if you want to login to Production or Sandbox Environment.
- Select the checkbox I agree to the Terms and Conditions.
- Click the button Login.
2.1 Export Data
Before we you are able to delete data, we need to export a list of all record IDs that should be deletedlater you like to delete.
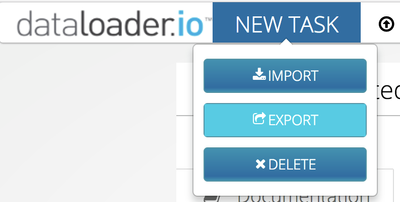
Export record IDs:
- Select NEW TASK and click the button EXPORT.
2.1.1 Object Selection
Please search for the object where which data should be deleted and select it.
...
- Search in the Search Box for the object.
- Select the corresponding object.
- Click the button Next.
2.1.2 Record IDs
Select
- the field "record ID
...
- " and "name" to be exported to the selected object
...
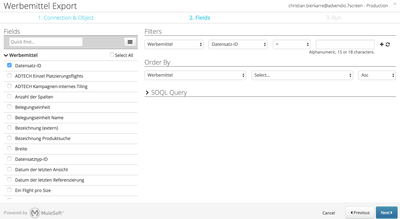
Select the record ID:
- Select the checkbox Record IDand
- enter some filter criteria like created before a certain date or created by.
- Click the button on Next.
2.1.3 Export Data
Click the button to export the data.
...
- Click the button Save & Run to start the export job.
2.1.4 Download CSV Result File
Once the job is done, you can click at the success or error message and if successful download the .csv-file.
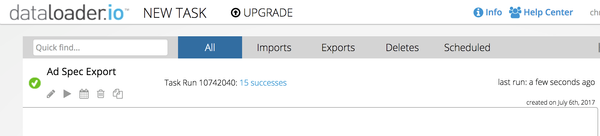
Download the results:
- Click at the result message (in this example "15 successes").
2.1.5 Open in Excel or other tool
Go ahead and open the CSV to make sure that you have selected the correct records.
2.2 Delete
...
Data Records
Once you have created your .csv-file you are able to delete this data.
...
- Select NEW TASK and click the button DELETE.
2.1.1 Object Selection
Please search for the object where data should be deleted and select it.
...
- Search in the Search Box for the object.
- Select the corresponding object.
- Click the button Next.
2.1.2 Upload CSV File
Please upload the just created .csv-file.
...
- Click the button Upload CSV and select the file stored at your computer.
- Click the button Next.
- Click the button Save & Run to start the delete job.
3. More Help
You can also use the following features:
...