With Mailing Lists, you are able to add multiple recipients to a visit report with a single click. In case the tab Mailing Lists is not available you need to create this tab first. The first four steps will show you how to create this tab. If the tab already exists, skip to step #5 to create a new mailing list.
Please note: Mailing Lists are only used for print media visit reports.
| Page Tree | ||||||||
|---|---|---|---|---|---|---|---|---|
|
| Anchor | ||||
|---|---|---|---|---|
|
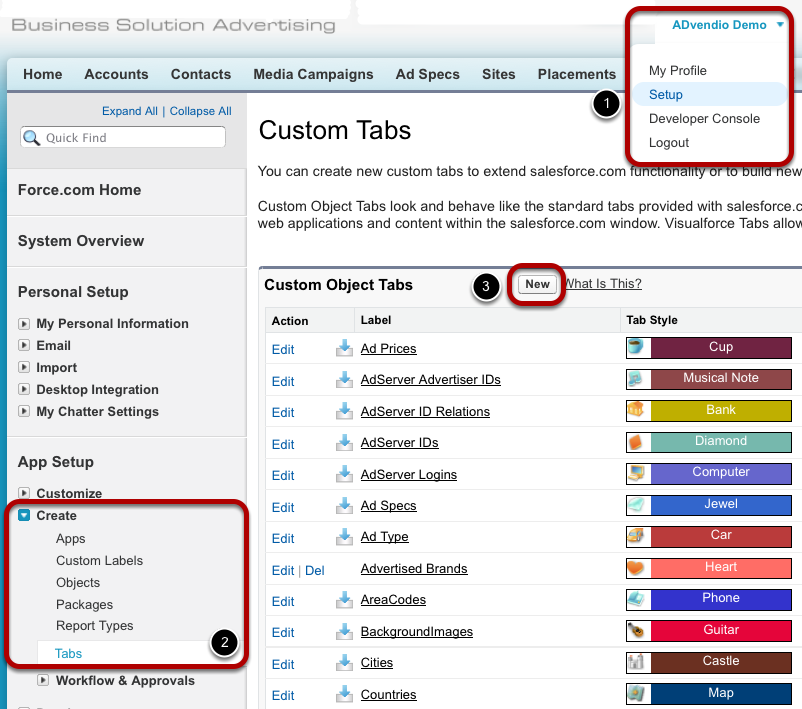
To create a new tab, follow these steps:
- Open the User Setup.
- Go to Tabs under App Setup / Create.
- Click the New button.
Enter Tab Details
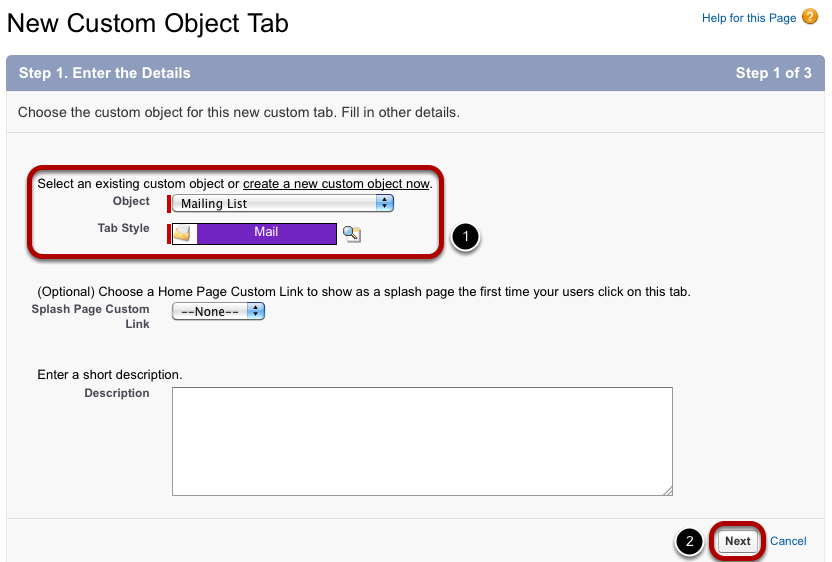
To create the Mailing List tab, select the corresponding value from the pick-list Object. Then choose an image to represent the tab (1). You are free to add additional information on the tab as a description. To continue, click Next (2).
Set Visibility
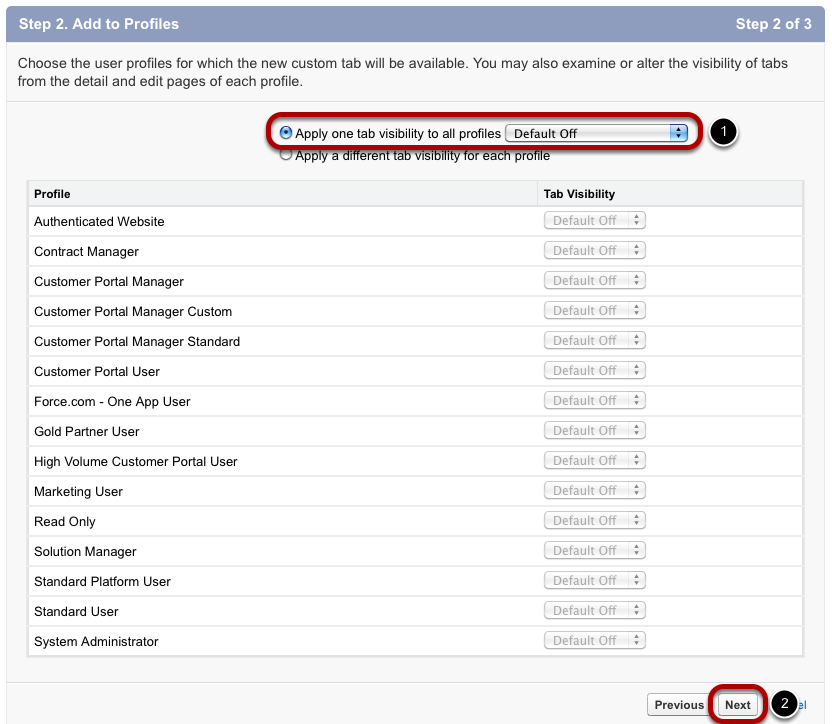
The new tab's visibility can be customized. First, you select on kind of visibility to all profiles you can choose whether it shall be visible per default (1). If you select "Default On", the new tab will automatically be displayed in the tab bar. If not, users find the tab under the All Tabs menu. Second, you are able to assign different visibility values for each profile. Click Next to continue (2).
Add Tab to Custom Apps
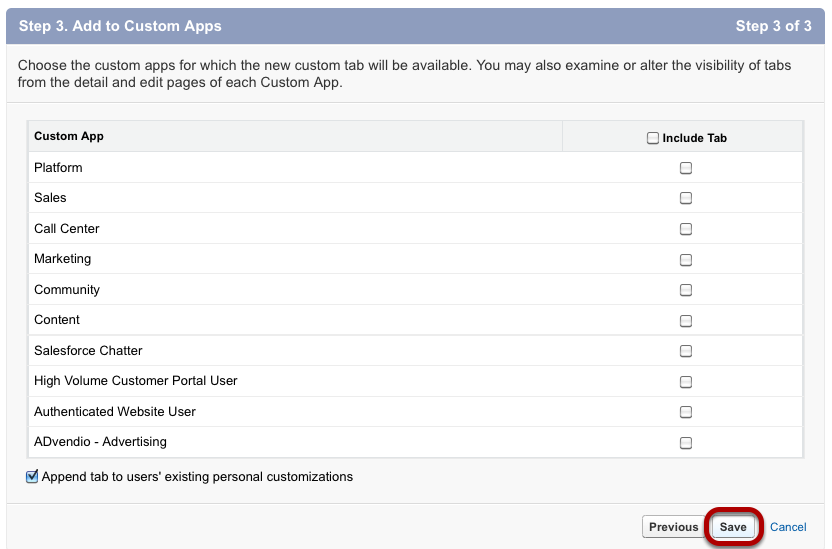
Define whether the tab shall be available in different custom apps. Then click Save.
Open Mailing Lists Tab
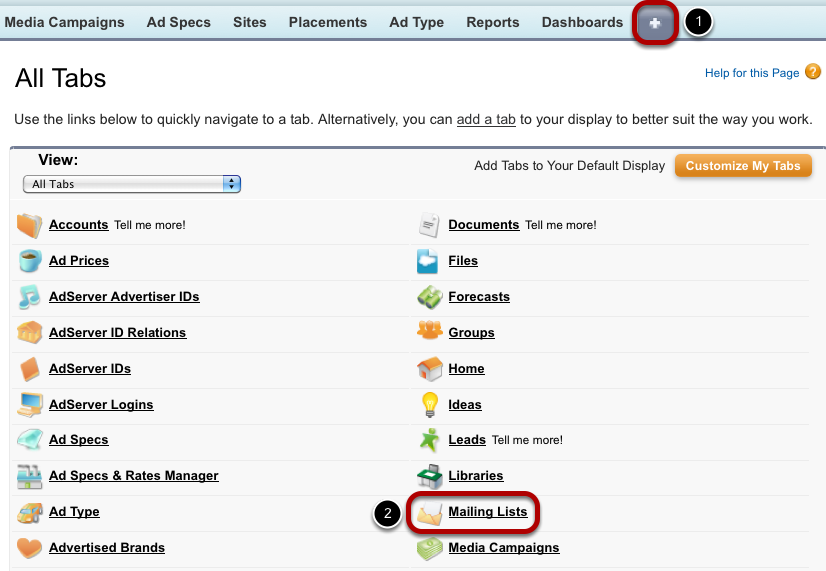
To open the new Mailing Lists tab, go to All Tabs (1) and click Mailing Lists (2).
Create New Mailing List
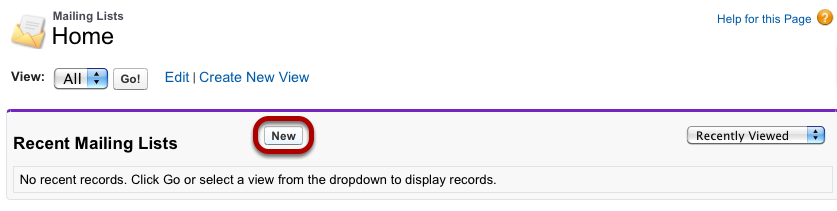
Click the New button to create a new mailing list.
Enter Mailing List Information
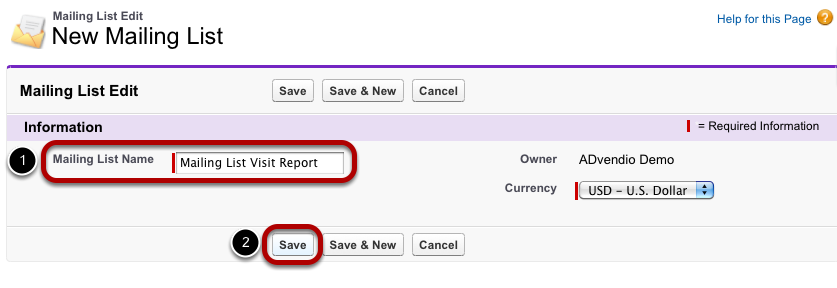
Enter a name for the new mailing list and click Save.
Add Contacts to Mailing List
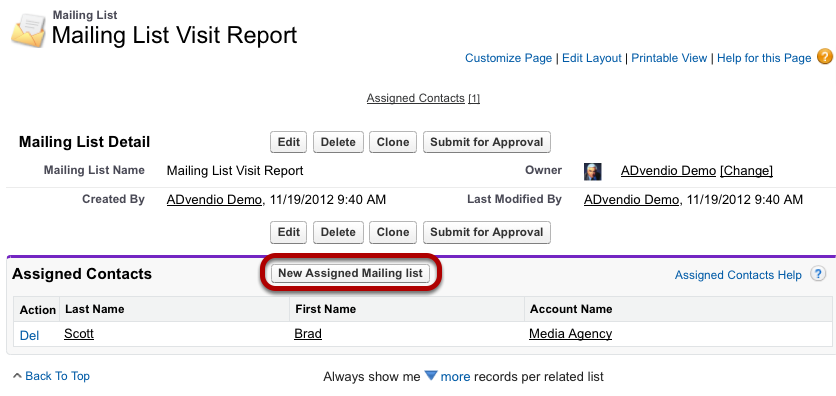
Now you are able to add contacts to your mailing list. To do so, click the New Assigned Mailing list button. If the assigned contacts are displayed with their ID only (i.e. AML0001), you might want to edit the related list's properties under Edit Layout in order to display their names and account names instead.
| Anchor | ||||
|---|---|---|---|---|
|
...