1. Create Commitments
To create a new Commitment navigate to the Overview Tab and select the Commitment Object or alternatively click on the related lists in your Account or Advertiser-Agency-Relation.
...
A commitment can be linked to an Advertiser-Agency-Relation or alternatively to either Advertiser or Agency or both (this is also dependent on your record type, see above).
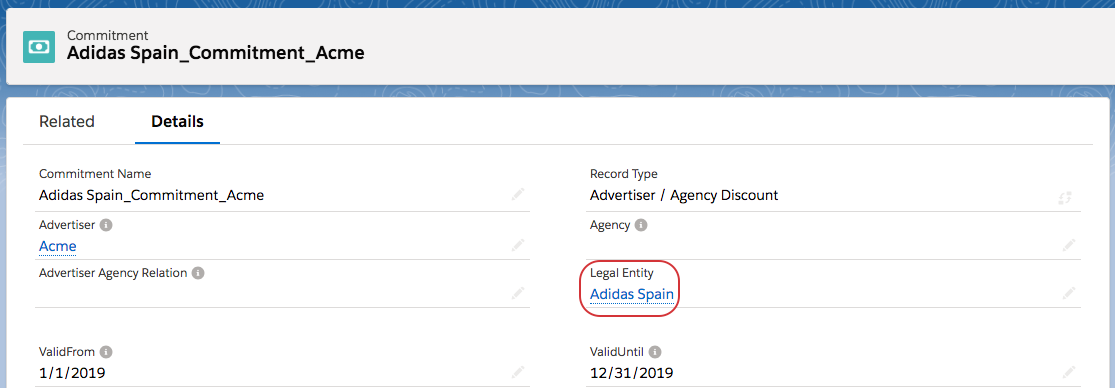
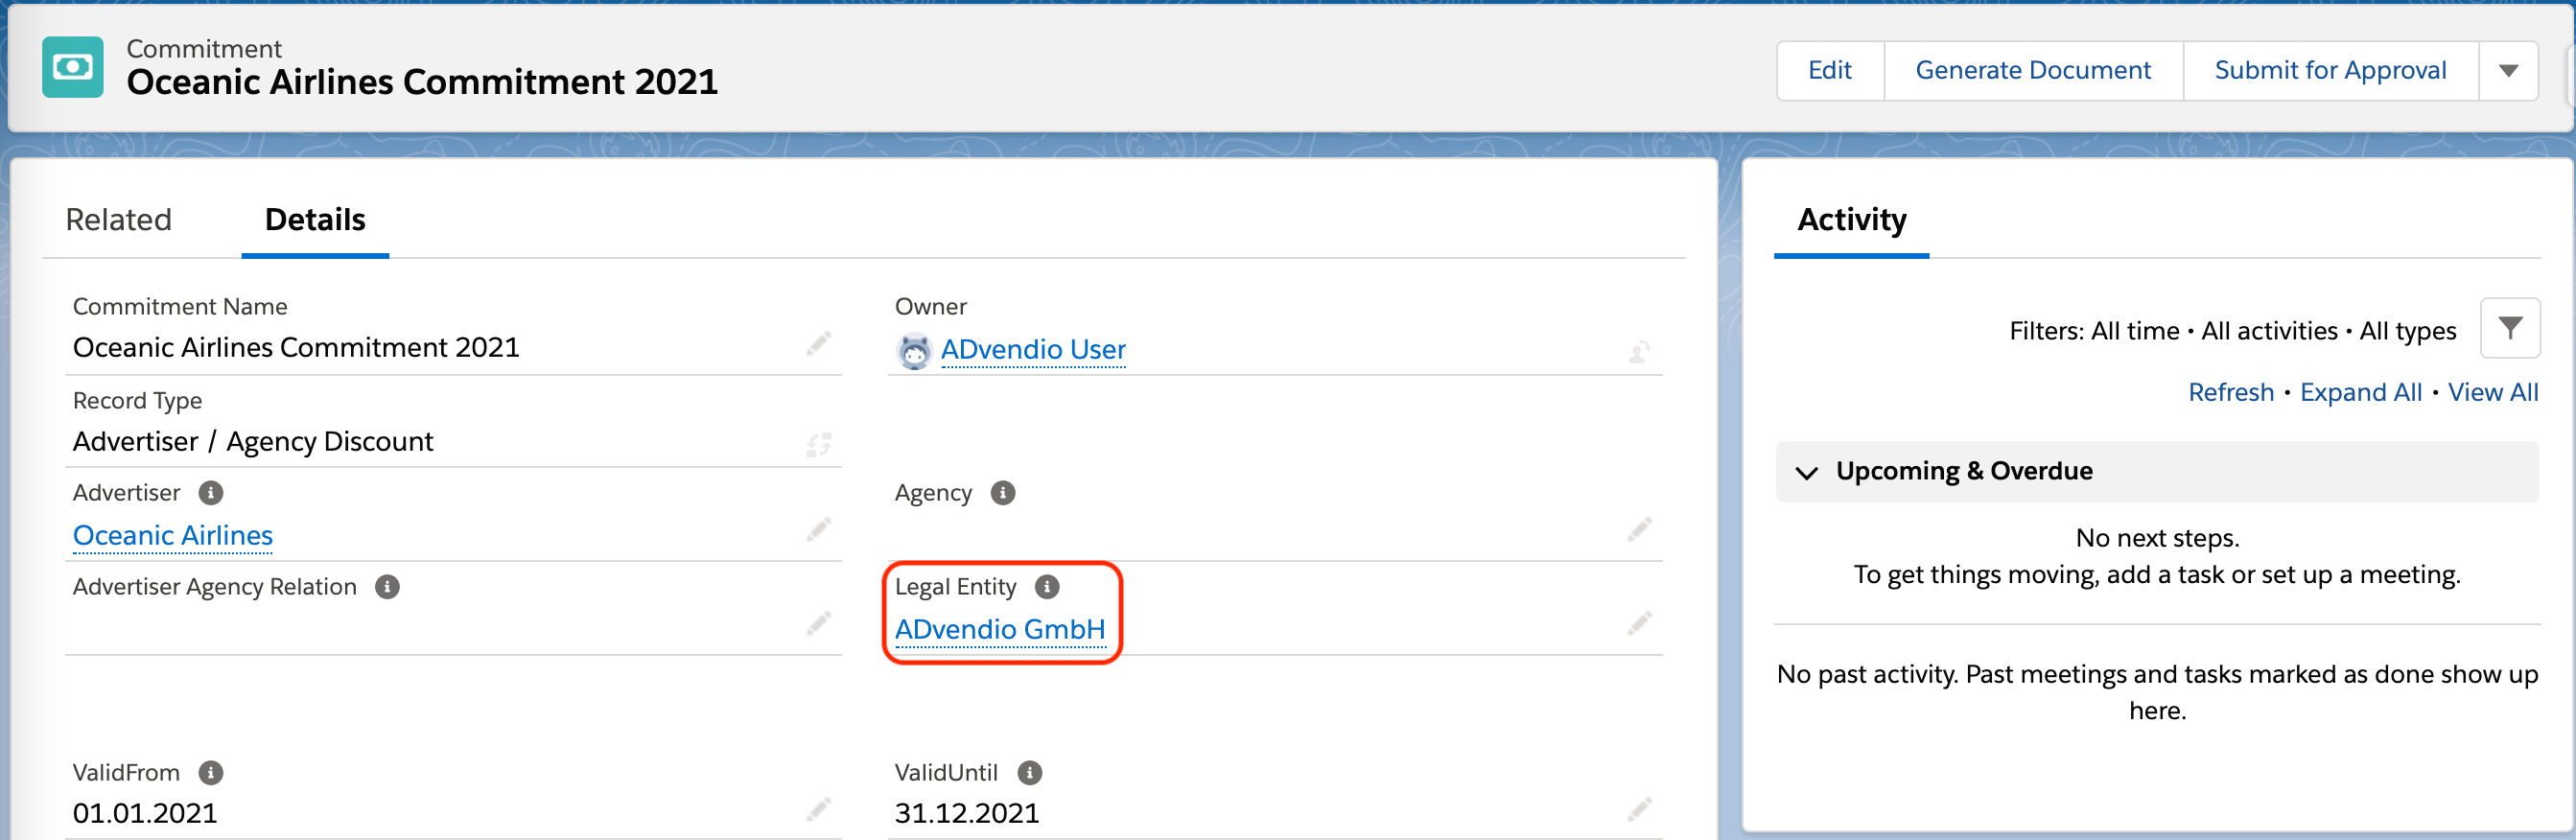
Since version 2.108 you have the possibility to set a Legal Entity to ensure that only Media Campaigns which have the same Legal Entity (or none) assigned will match.
Assign a validity period.
Give it a status.
Check the active checkbox only after the commitment has been agreed and when all related conditions should be applied.
Optionally: Go through the approval workflow if this is required for your company. ADvendio makes sure that approved records can not be changed later on. The error message is stored in Custom label: "ModifyApprovedRecordNotAllowed" and can be changed by your admin.
Click "Save".
...
| Note |
|---|
Make sure to do the following:
|
2. Add Commitment Conditions
Next open the related list to the commitment conditions and click on "new". Here you store your commitment conditions which are the object of your agreement. You can add multiple records if needed and even add a hierarchy by using the Shared Revenue Scale record type.Choose .
When using the advanced Commitments introduced in version 2.140 you can additionally define a validity person to your Commitment Conditions which will be taken into account when applying the Commitment Conditions to Campaign Items based on certain runtimes.
To get started, choose one of the following options:
...
The layout varies slightly when choosing a specific record type but you will have always four sections: Information, Matching Criteria, Discounts, Unit Count. To learn more about the different commitment conditions check the 4.16.8 Commitment Condition Use Cases.
Section: Information
...
Depending on your type of discount and Rebate fill in the required fields and save. In Scaled Discounts you have the option to link to a "master" record condition which has to total turnover which you can then grant for several conditions.
Section: Matching Criteria
...
You can either use an Advertising Medium to cluster your commitments or optionally the media classification (if defined: 3.1.6 Media Type, Segment, and Differentiation.) Select the appropriate types to classify which advertisements are counting towards this commitment. Also make sure that you understand the hierarchy of commitment conditions if you happen to use those.
Section: Discounts
...
Enter here the discounts you like to grant.
Cash Discount Advertiser translates into the Customer Discount on your Campaign Item.
Cash Discount Agency maps to the Agency Discount
The Special Discount stays Special discount and for the naming the condition name "Commitment" will be used.
Section: Unit
Also make sure to specify a Unit Type. This will be used similar to the relevance criteria and later be compared to the field Unit at the AdPrice. Your standard options are
Ad Impressions (AIs)
Click
Page Equivalency
Second
Day
Week
Month
Action
Page Equivalency
Select "Page Equivalency" as your unit always in combination with the field Page Equivalency to determine how many pages one unit of the product represents.
...