TEXT (Was ist Yieldlab?)
Yieldlab - Create Ad Server Login
Before activating the integration between ADvendio and your Yieldlab network, you have to create a Yieldlab Ad Server Login first.
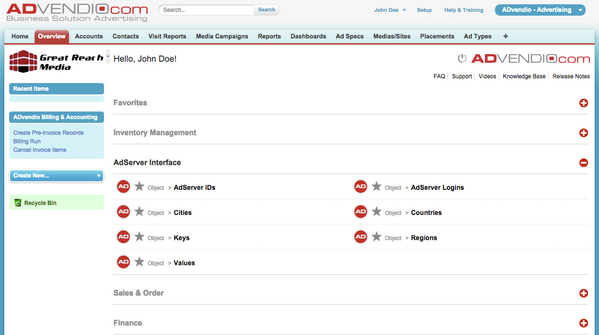
Navigate to the Ad Sever Login:
- Navigate to Overview.
- Scroll down and open the section AdServer Interface.
- Click the button AdServer Logins.
- Click on New AdServer Login to create a new record.
- Select Yieldlab as record type and click Continue.
Yieldlab - Edit Ad Server Login
Enter all necessary information to create the Yieldlab integration.
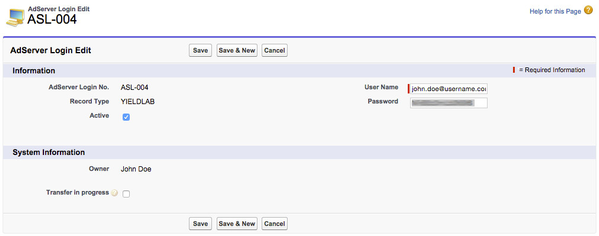
After selecting the record type Yieldlab please enter User Name and Password:
- Enter User Name.
- Enter Password.
- Click the button Save.
You have successfully created the Yieldlab integration.
Note: You can validate the Yieldlab integration by clicking the link Check Login at the AdServer Login detail page.
Yieldlab - Delivery Report Settings
Navigate to the Delivery Report Settings to schedule the integration.
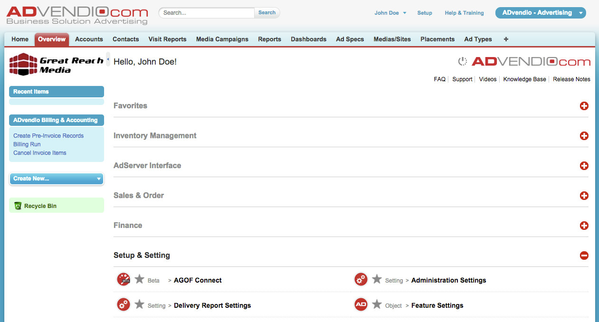
Navigate to the Delivery Report Settings:
- Navigate to Overview.
- Scroll down and open the section Setup & Settings.
- Click the button Delivery Report Settings.
Yieldlab - Delivery Report Settings for RTB-Server
Description

Enter all relevant data:
- xxx
- xxx
- Click the button Submit.
Description
Note: Description