In order to use the ad server integration, you need to create an ad server login first. Once the login exists, you can establish a connection and transfer inventory from your ad server to your ADvendio.com system.
1. Create a new Ad Server Login
Use the App Launcher to navigate to the AdServer Login page or click on the Overview tab, were you will find the section "AdServer Interface" and within this section click on AdServer Logins.
Click the New AdServer Login button.
2. Pick a Record Type to match your ADserver Type
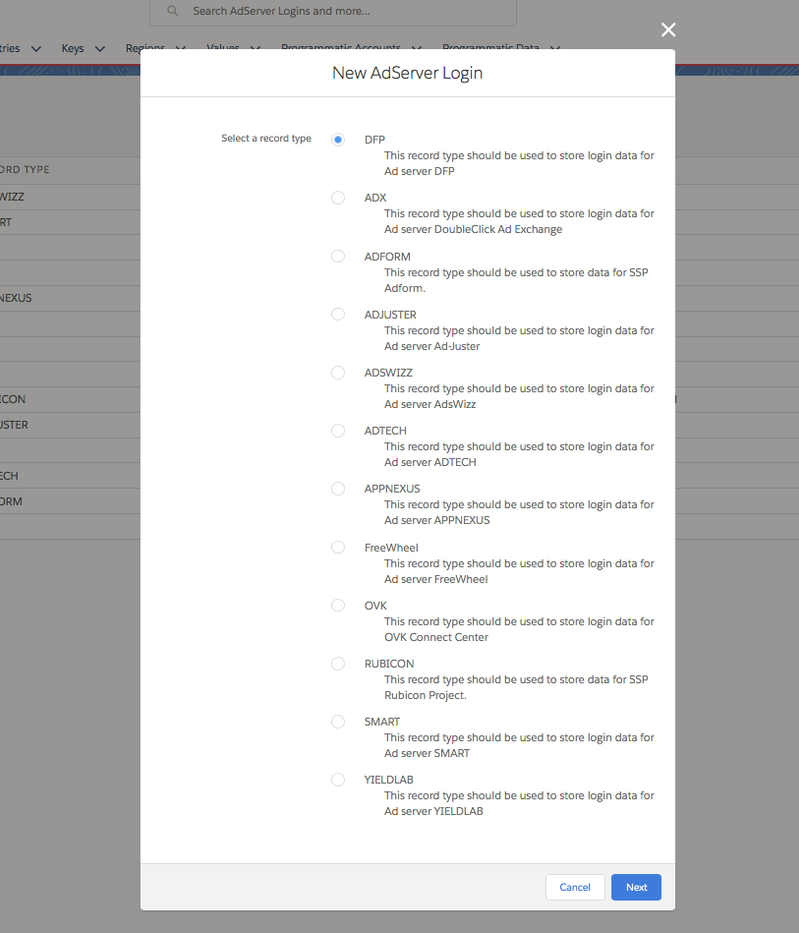
Choose the appropriate record type to match your server type. Select the appropriate value and click Next.
3. Enter Ad Server Login Information
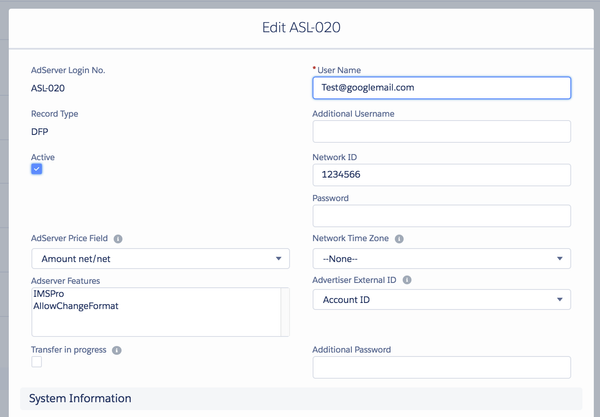
Now enter your login information, i.e. your
- username and
- password you use to log into your ad server. Check here 7.3.1.1 Which Login User you need to use to create Login records.
- Description: Optional - use this field if you have several adserver logins, especially of one record type. I.e. DFP Logins for different business units.
- Choose which ADServer Price field you like to use: Net Amount 2, Net Amount 3 or the Adserver Price.
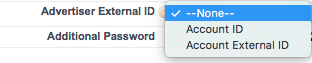
You might also enter your choice of Advertiser External Id you like to push to DFP:
4. Test Login to Ad Server
Now you can verify that your login connection is working by clicking on the Check Login button in the record.
Version 2.82 and up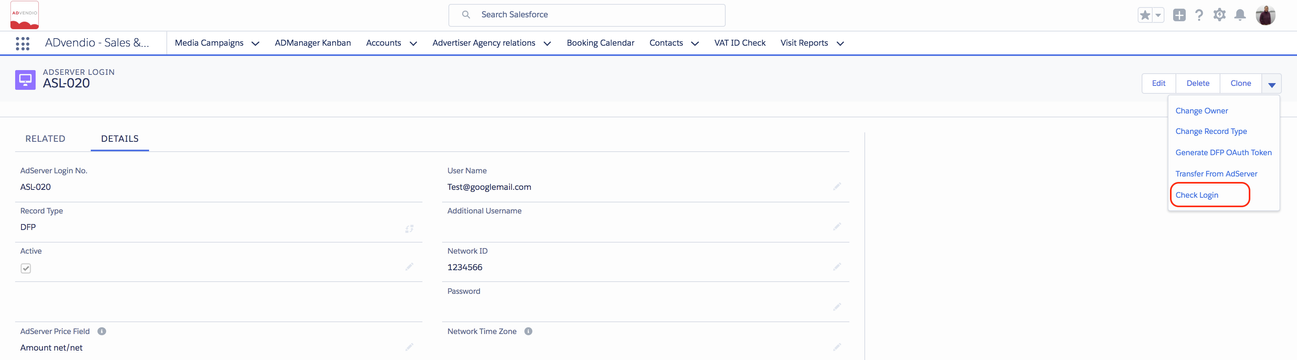
- If your connection works, you can proceed to transfer your ad server's data to your ADvendio.com system using the other custom links. 7.3.2 Transfer Data from the AdServer
- Proceed with 3.2.3 Predefined AdServer Targeting for Products: Connect Ad Specs via Ad Server IDs.