8.4.4 Setup and Configure the Optimizer
The Optimizer is a great feature that can be customized to your specific needs. This section describes how you as an Administrator can set up and configure the optimizer tool.
Chatter
Please enable Chatter Feeds to use this feature!
1. Change the picklist values
The picklist values for "Source" (prepopulated with "Proactive" or "Order Optimization" and "Reactive" or "Order Amendment") and Reason (Swap AdSpec, Change of Debtor, Discount Correction, Frequency Capping Modification, Price Correction, Reconciliation, Runtime Reduction, Runtime Extension, Modification of Targeting, Other) can be modified.
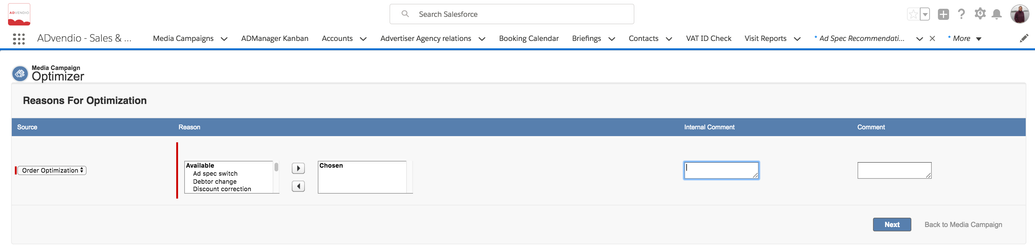
Customize the field "Reason":
- Navigate to Setup - Object Manager - Optimizations and find the field Reason in the Fields & Relationships section.
- To change the wording on the values in the Source please use the translation workbench.
- Optionally: Add a field dependency to make certain reasons only available for either pro or reactive optimizations.
2. Tab Settings
Tab Settings can be shared by Media Configuration and Optimizer. You can configure the fields to add or edit an item works similar to 7.2.2 Setup Media Configuration.
In order to modify a tab, either change an existing tab or create a new one only for the Optimizer.
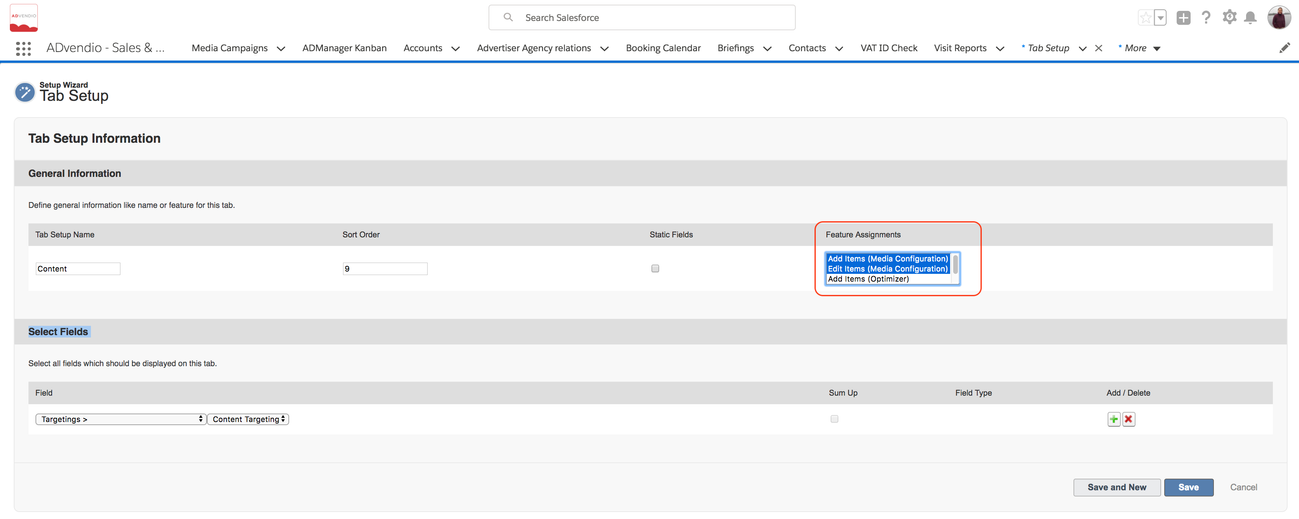
Navigate to Tab Setup to add or edit tabs and fields:
- Navigate to App Launcher > Tab Setup and add a new record or edit an existing one.
- Use the Feature Assignments to define, if the Tab Setup should be used for Media Configuration and / or Optimizer. You can also define different Tabs for Add Item and Edit Item. (The above example will not show the Content tab in the Optimizer but only in the Media Configuration.)
Important
Please remember that if no items in the multiselect picklist "Feature Assignment" are selected the tab is active for all features. You can exempt features by marking the other ones.
3. Tab Rules (optional)
Tab Rules can also be shared by Media Configuration and Optimizer. Configure Tab Rules similar to 7.2.2 Setup Media Configuration.
Tab Rules define under which conditions fields are editable (input fields), read-only or hidden for a specific user, user group or profile.
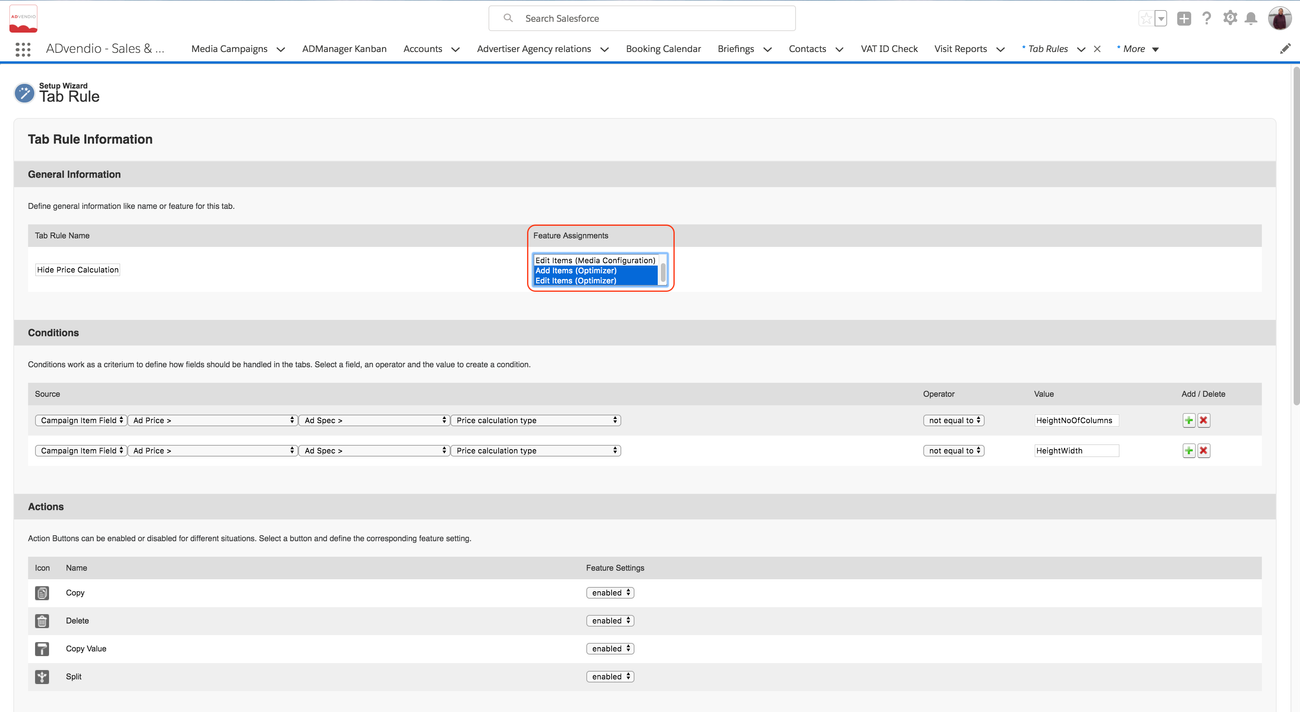
Navigate to Tab Rules to add or edit field rules:
- Navigate to App Launcher > Tab Rules and add a new record or edit an existing one.
- Use the Feature Assignments to define, if the Tab Rule should be used for Media Configuration and / or Optimizer. (The above example is only valid for the Optimizer)
- Create a Condition which triggers the execution of this rule.
- Optional: Enable or Disable Action Buttons for this condition.
- Optional: Make one or more fields required.
- Optional: Set one or more fields to read-only. This will also stop users when using the copy button to fill read-only fields.
- Optional: Hide one or more fields. This will also stop users when using the copy button to fill hidden fields.
Important
Please remember that if no items in the picklist "Feature Assignment" are selected the rule is active for all features in that list.
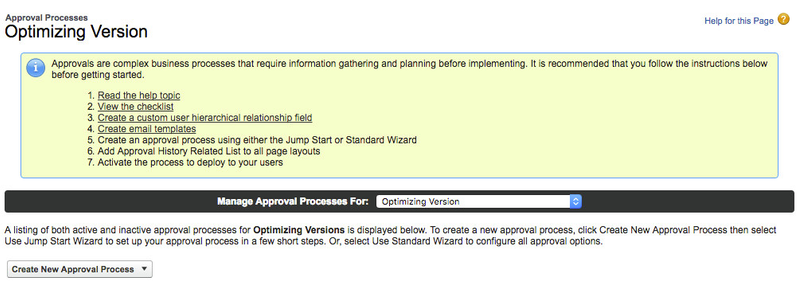
4. Approval Workflow
It is recommended that you add an approval workflow on the optimized versions which will have to set the approved checkbox (ADvendio__Approved__c) to true.
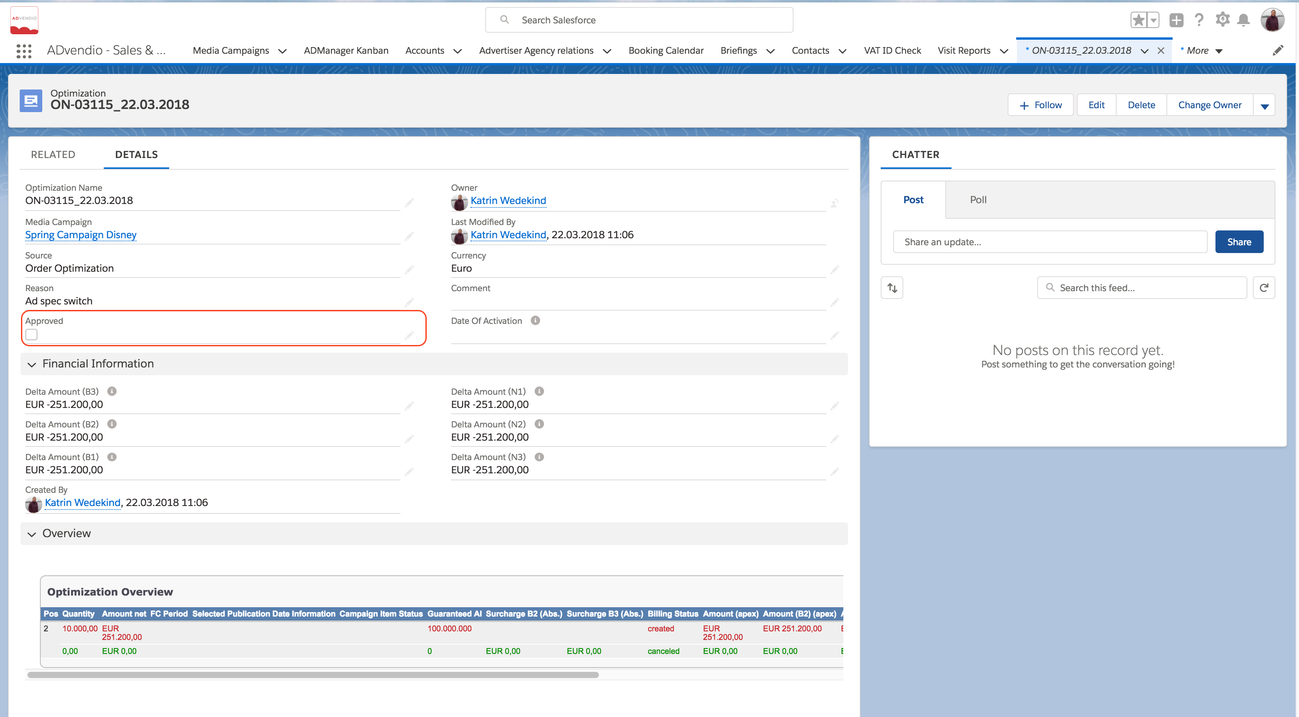
Only then the Optimized Version can be activated. To set up an approval workflow on the optimized version please navigate to Setup > Home > Process Automation > Approval Processes and select the object Optimizing Version.