...
1. Set up your AdServer Login
Set up your AdServer login exactly like the DFP login but Follow the steps in the instructions 7.3.1 Create an Ad Server Login but make sure to use the ADX record type : to specify that this is an AdExchange login record.
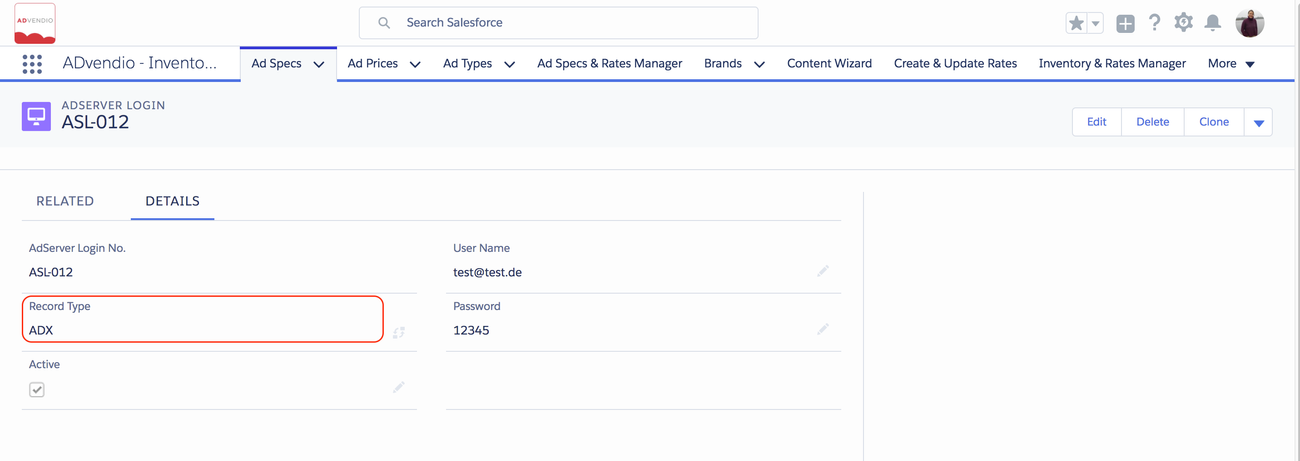
After selecting the record type ADX please enter User Name:
Enter your Publisher ID (Google ADX Account ID) (starting with “pub-“) from Ad Exchange as your User Name. If you don’t have a Publisher ID please refer to: https://support.google.com/adxbuyer/answer/105516?hl=en
- Leave Password empty.
- Click the button Save.
- Press the Generate DFP OAuth Token button and follow the steps 3.5.2 Generate OAuth 2.0 Token (DFP) to generate a token and finish the login. You can now delete your password. It is not longer needed.
You have successfully created the Google DoubleClick Ad Exchange integration.
Note: You can validate the Google DoubleClick Ad Exchange integration by clicking the link Check Login at the AdServer Login detail page.
Please take care of the permission settings for the user that generates the OAuth Token.
To import the full set of data please ensure that the role permissions for reporting like "Create and view reports" and "Create and view Ad Exchange reports" are enabled in the DFP UI. Here is a documentation on how to create/edit a user role in the UI. Also, you can check this guide for the complete list of user role permissions.
2. Schedule your Delivery Data
...
| Note |
|---|
Please note that we only import open auctions, impressions/ clicks for deals can be imported by our regular Delivery data import see chapter 3 here or 5.3 Revenue Schedule, Delivery Data and Status Update directly from your DFP Adserver. |
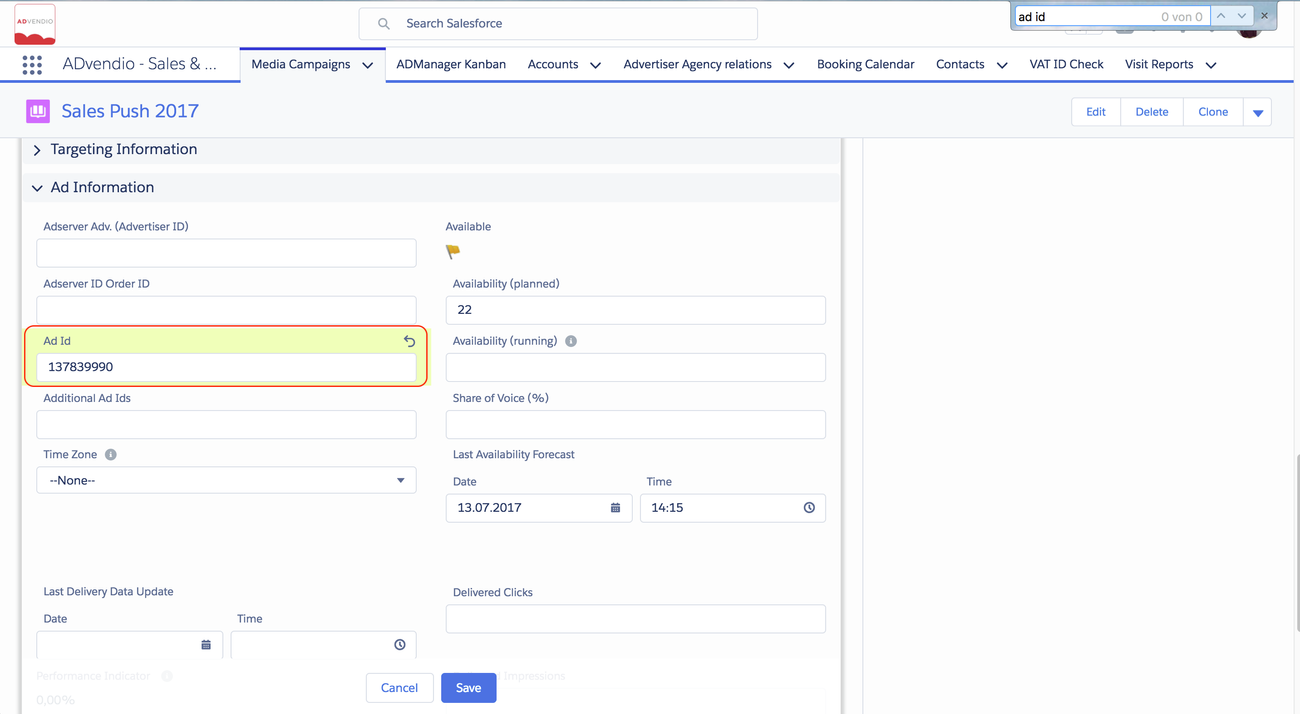
3. Update your Ad Ids
The easiest process is probably to have a monthly data loader import. Here we explain the manual steps:
4. Validate Revenue Schedule Data
...