...
These are branded online spaces for your employees, customers, and partners to connect in. You can customise customize and create Communities to suit your needs and the needs of those most important to your business.
...
- Communicate with customers: Advertisers and Agencies alike.
- Provide self-service portal to create Media Campaigns or even have customers shop for certain products and check their availability.
- Allow customer service to talk with customers and resolve their questions and support cases
- Collaborate / Chatter with partners and employees on Media Campaigns
- Create custom modules with Lightning
- Add pretty much any object page; there's no restriction to the standard features
- Quickly change the layout, color, logos, and fonts of your Community without the need for any code.
Portal Setup Steps
...
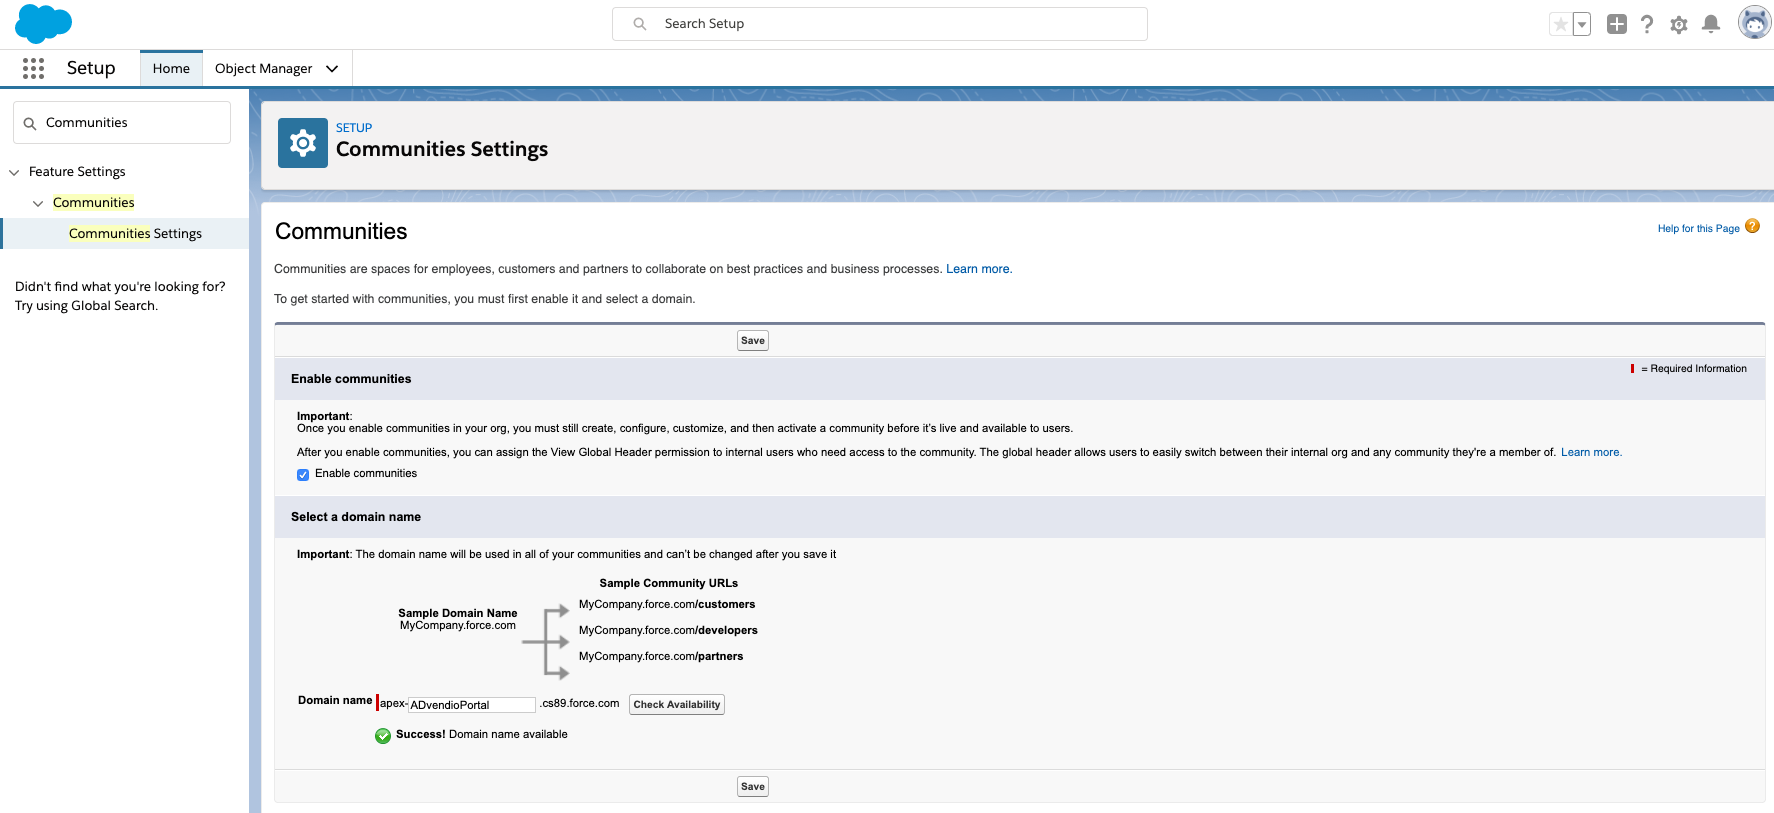
1. How to enable Salesforce Communities?
- From Setup, enter Communities Settings in the Quick Find box, then select “Communities Settings”.
- Select Enable communities.
- Select a domain name to use for your communities, then click Check Availability to make sure it’s not already being used.
- Select Save.
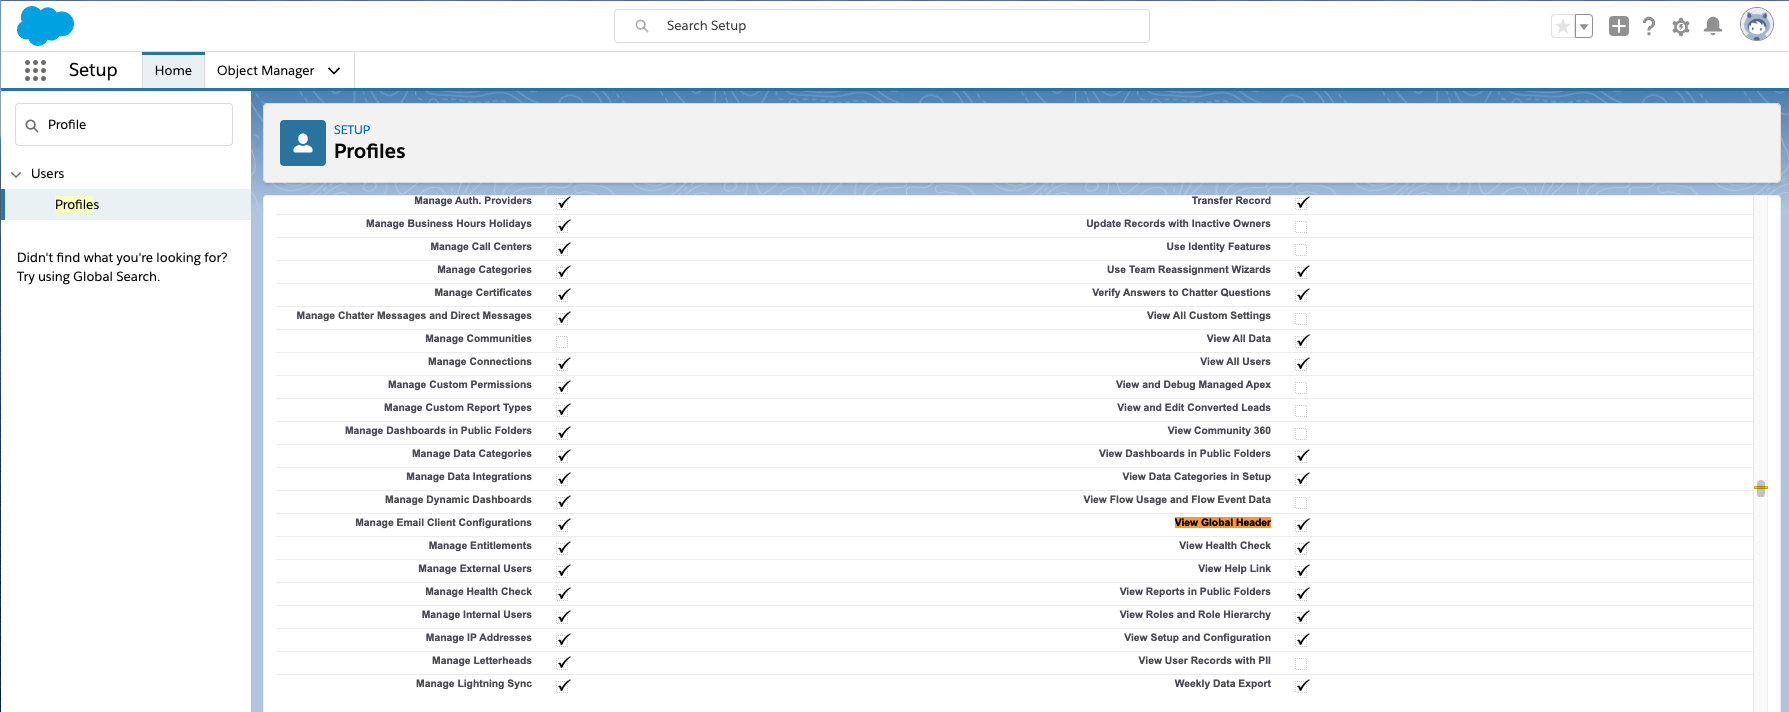
2. View Global Header
Once you've enabled Salesforce Communities, you should grant View Global Header permission to internal users who need community access. The global header lets users easily switch between their internal organization and any communities of which they're a member.
- From Setup, enter Profiles in the Quick Find box, then select System Admin.
- Select Administrative Permission and check the View Global Header checkbox.
- Click Save.
3. Create Communities
- Enter communities in the Quick Find box, select All Communities, then select New Community. You'll see the Community Creation wizard with several templates.
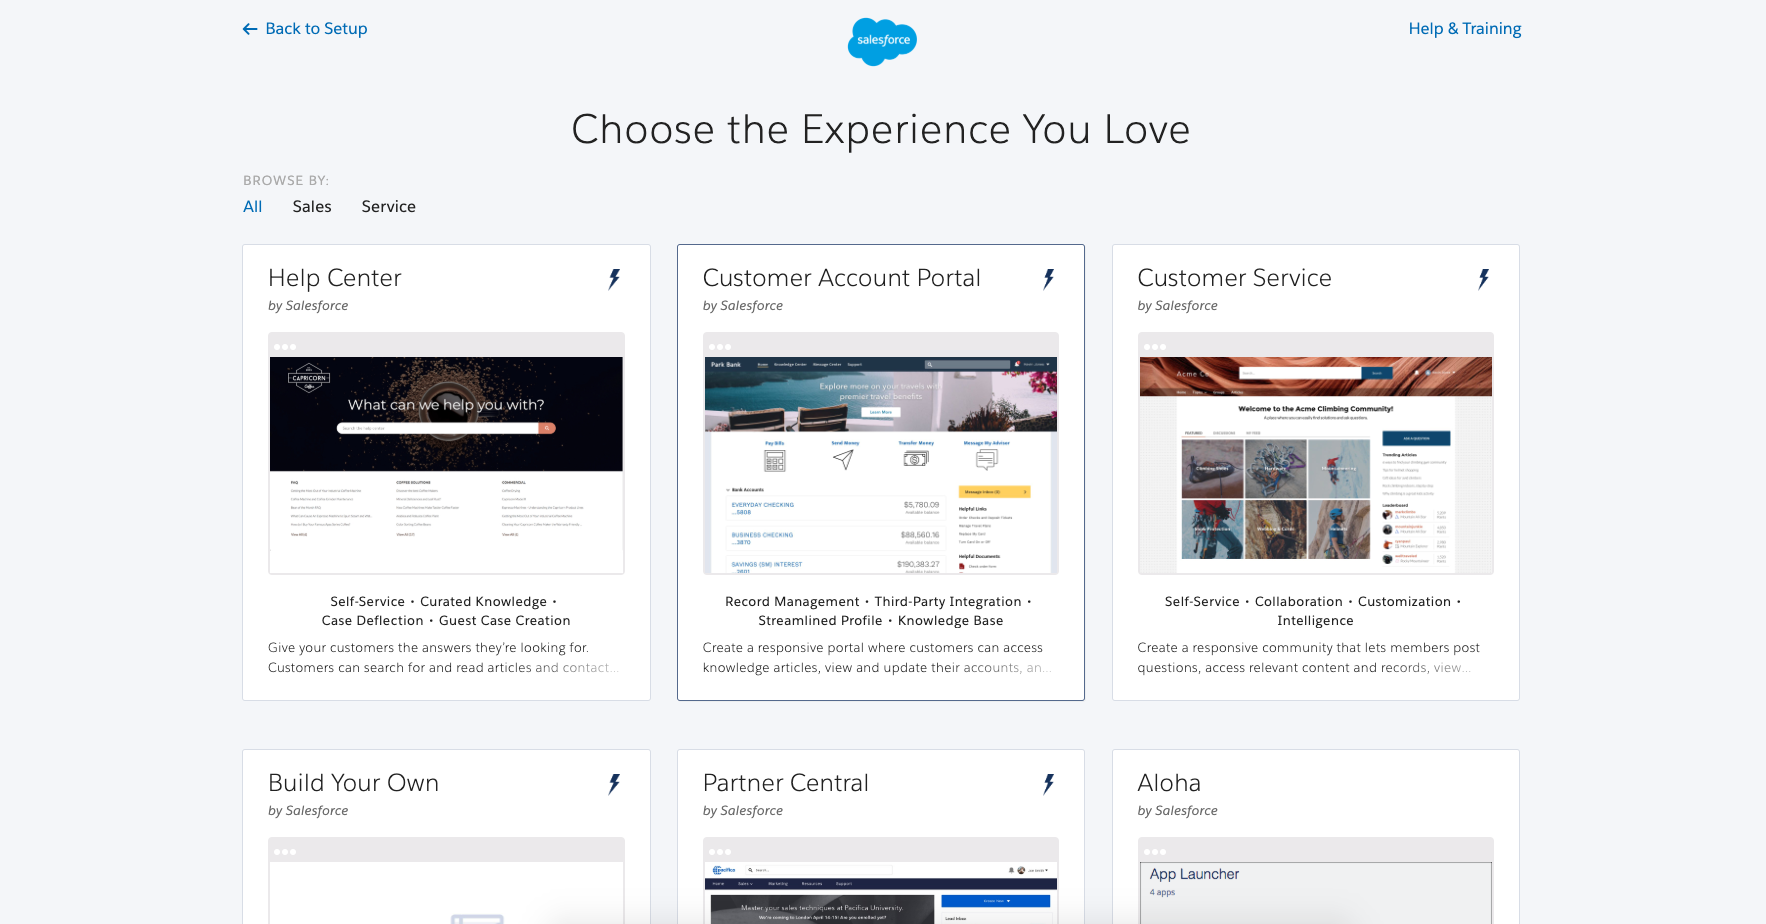
- Select Napili "Customer Service" (or any other template you like).
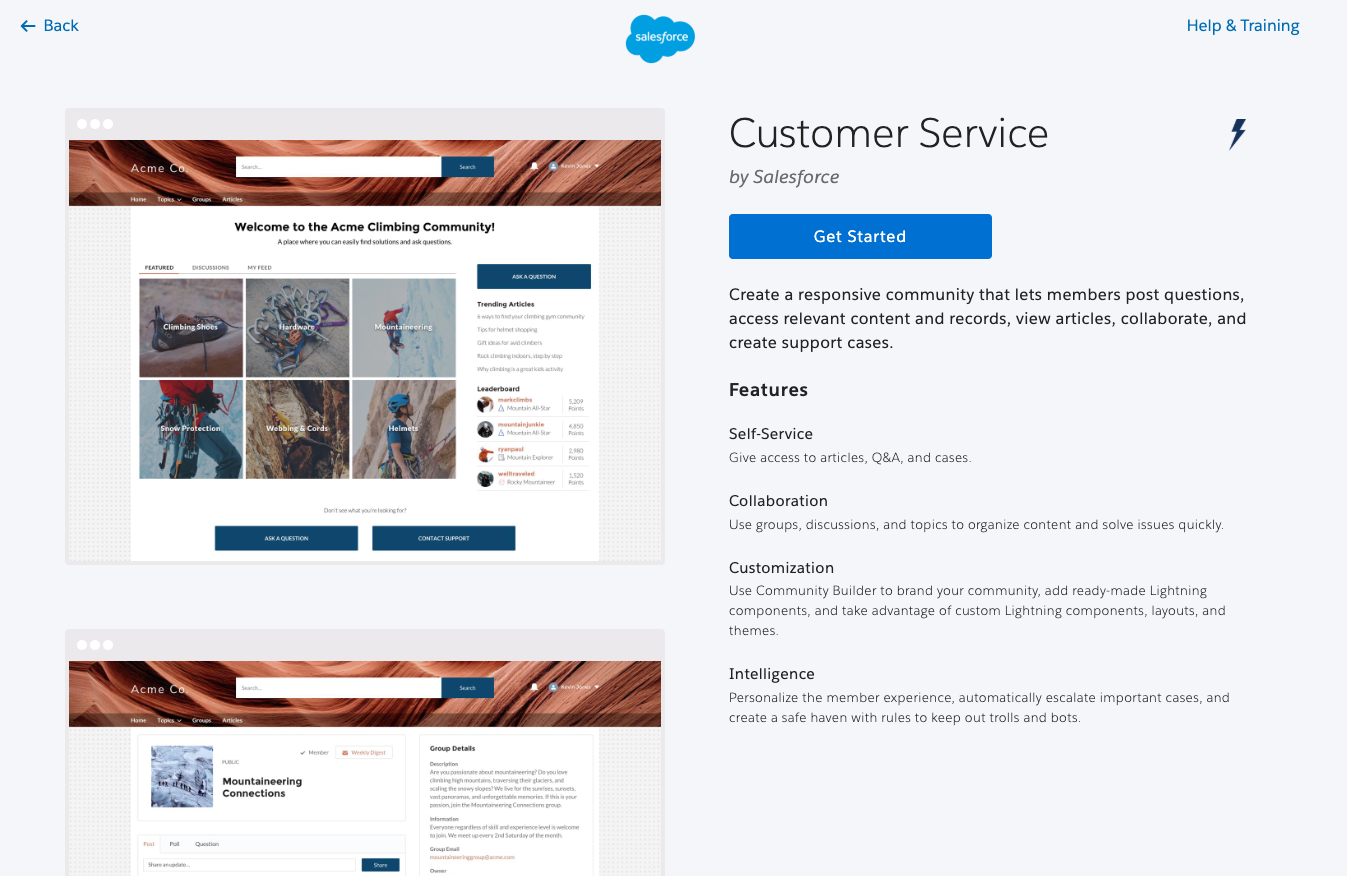
- Enter a community Name.
- Enter a unique value at the end of the URL field (optional).
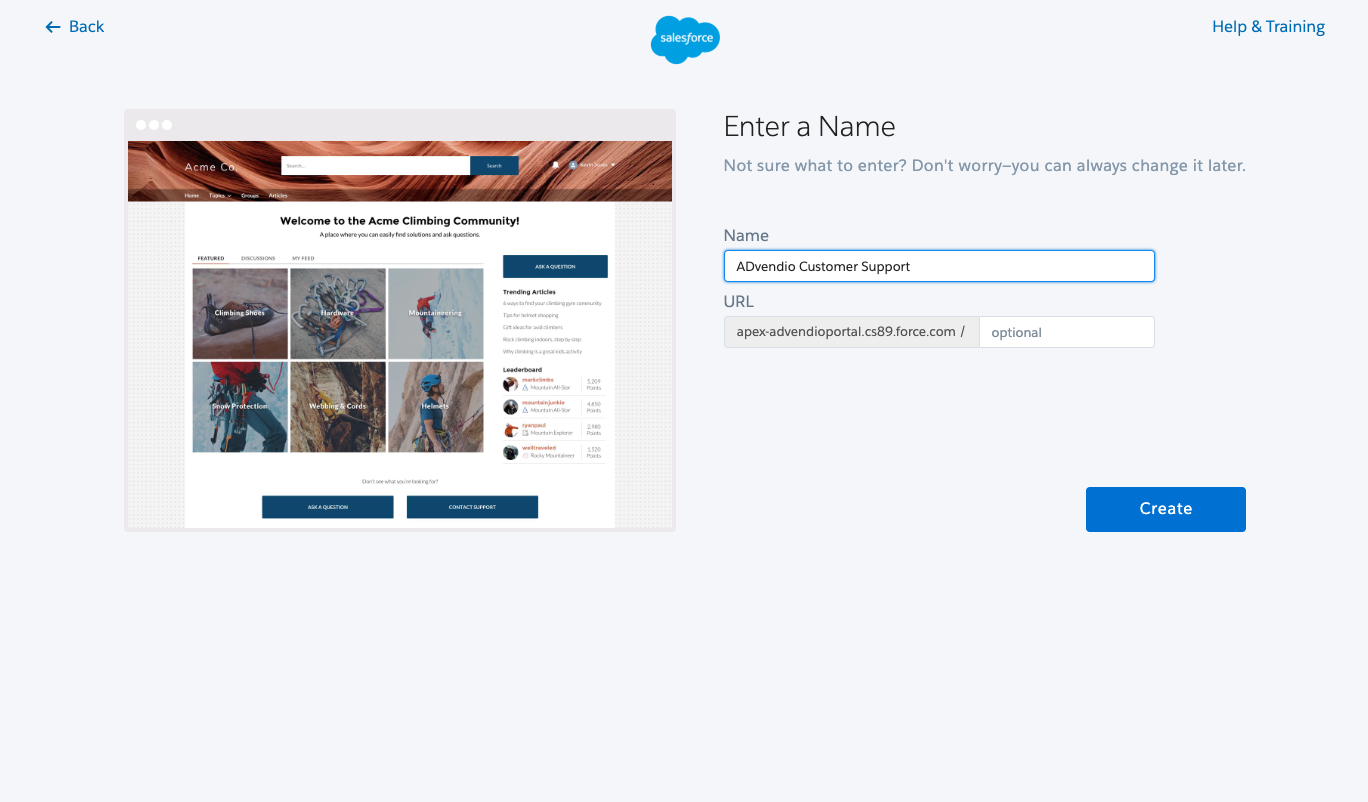
- Select Create.
On the confirmation page, select Go to Community Workspaces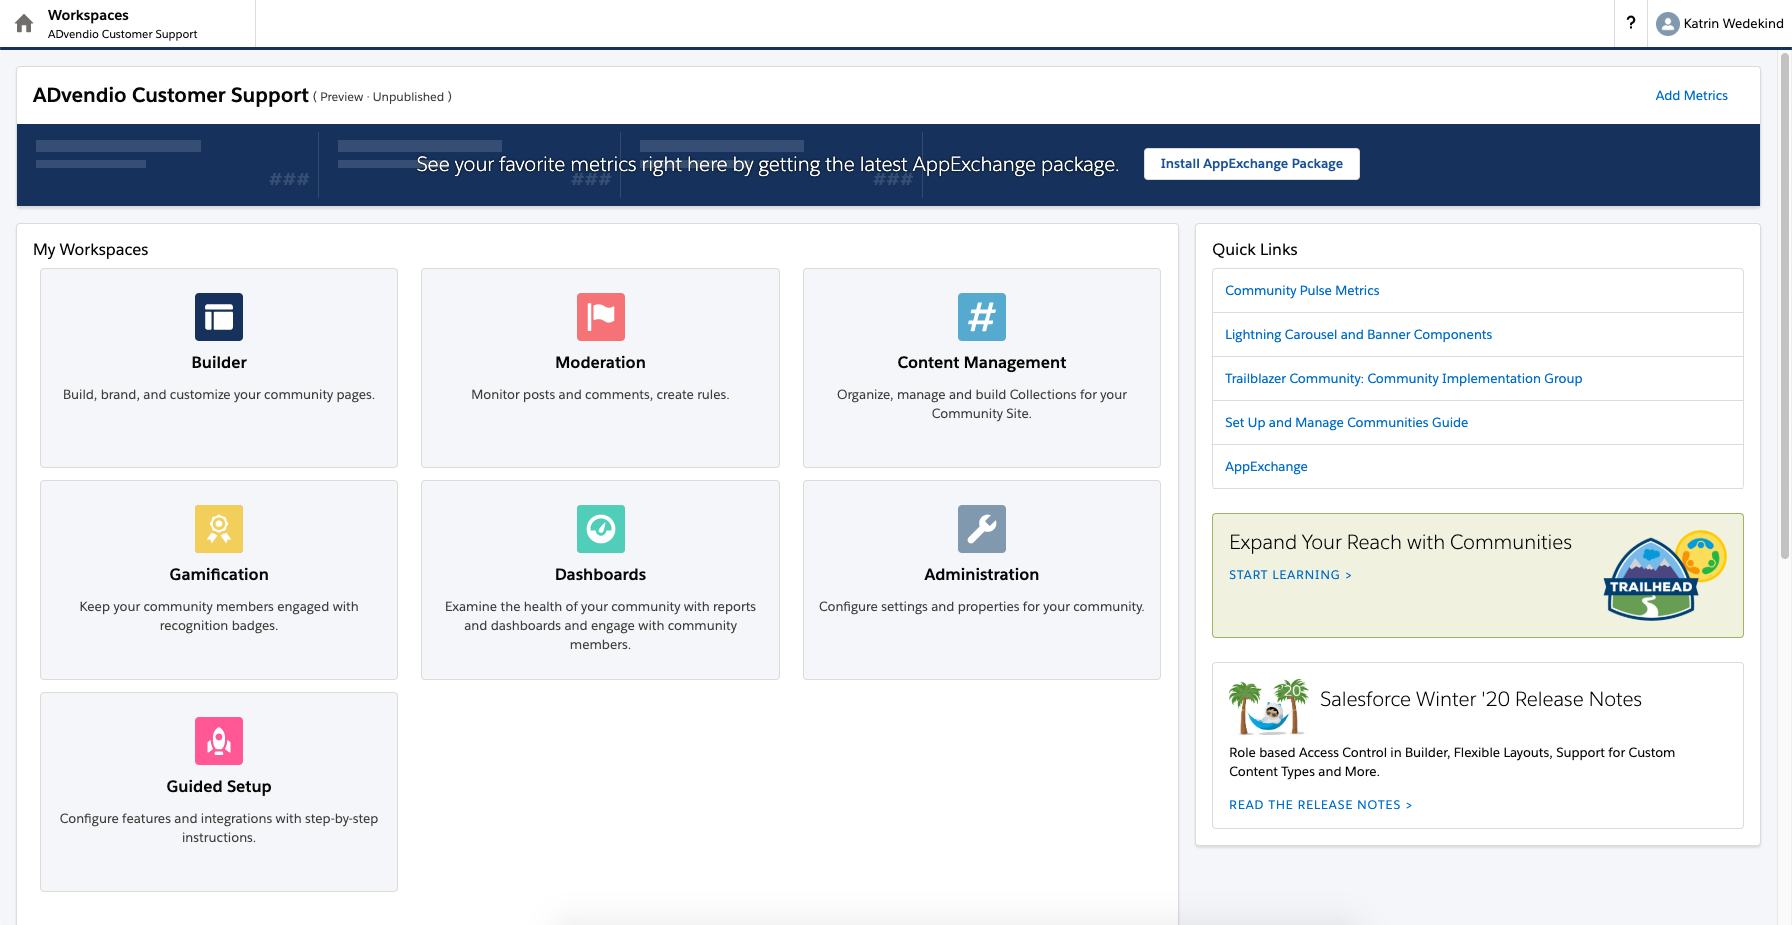
- This opens the Community Workspaces which helps you to customize your community. If you choose chose a template other than Salesforce Tabs + Visualforce, you can customize your community in Community Builder Builder.
- Select Builder.
- Select the Topics tab to display the Navigation menu popup. This works similar to the Lightning App Builder.
- Select Edit Default Navigation.

...
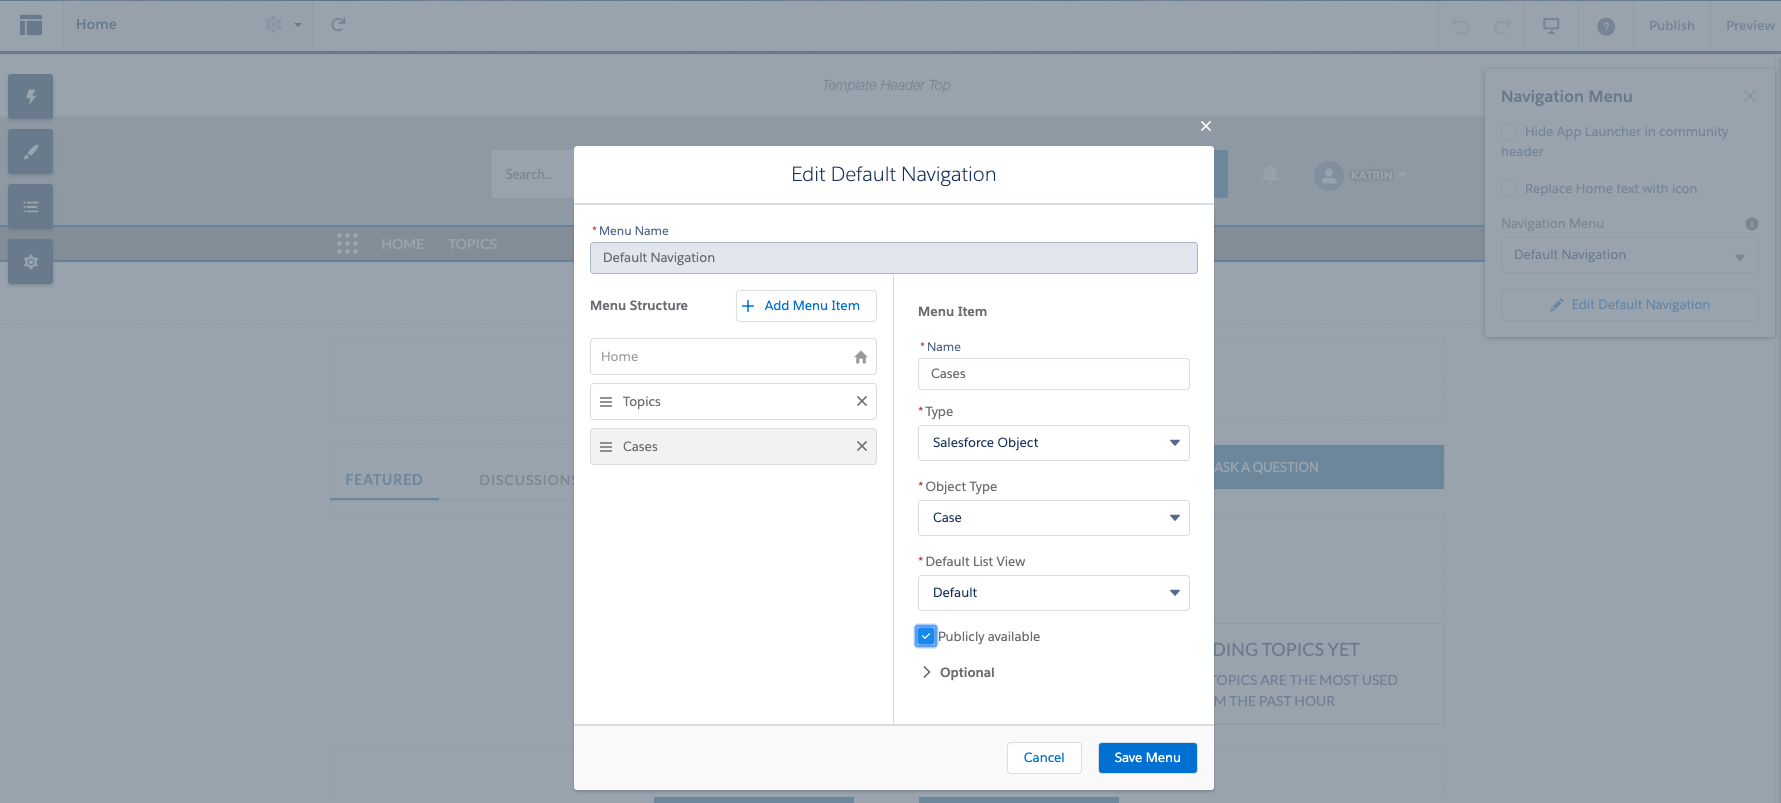
4. Edit a new Tab in the Navigation Menu
- Select Add Menu Item.
- Populate the fields in the Navigation menu:
- Name: Cases
- Type: Salesforce Object
- Object Type: Cases
- Select Publicly available
- Select Save Menu.
- Select Publish.
5. Activate and Publish the Community
- To Activate your community, select Home community workspaces and navigate to Administration.
- Select Settings.
- Select Activate community.
- You can now publish your community portal by selecting Publish in the upper-right corner of your community display area.
- Follow all steps to add Account, Contacts, Media Campaign tabs or any other tabs your community requires.
...