Anchor
Please note: Creating an ad spec in ADvendio.com does not result in the creation of an identical ad spec unit in your ad server.
Open the Ad Specs & Rates Manager

Click on the All Tabs menu (1) 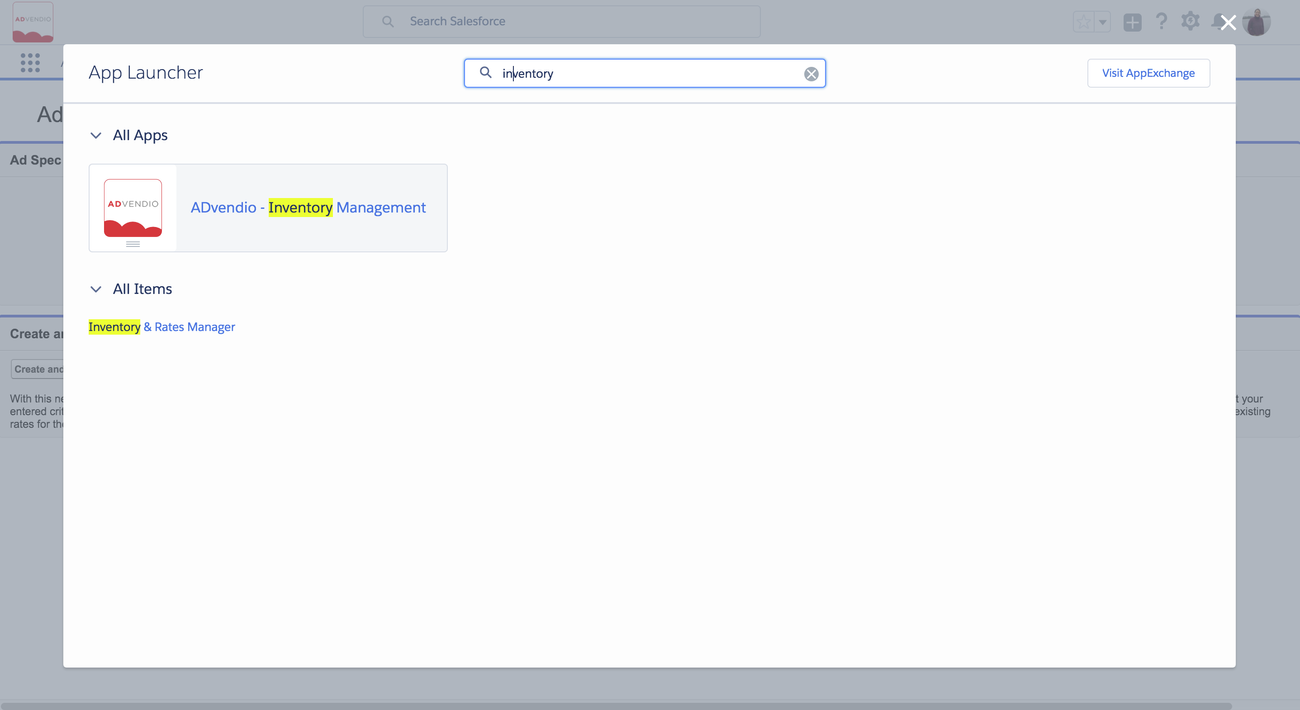
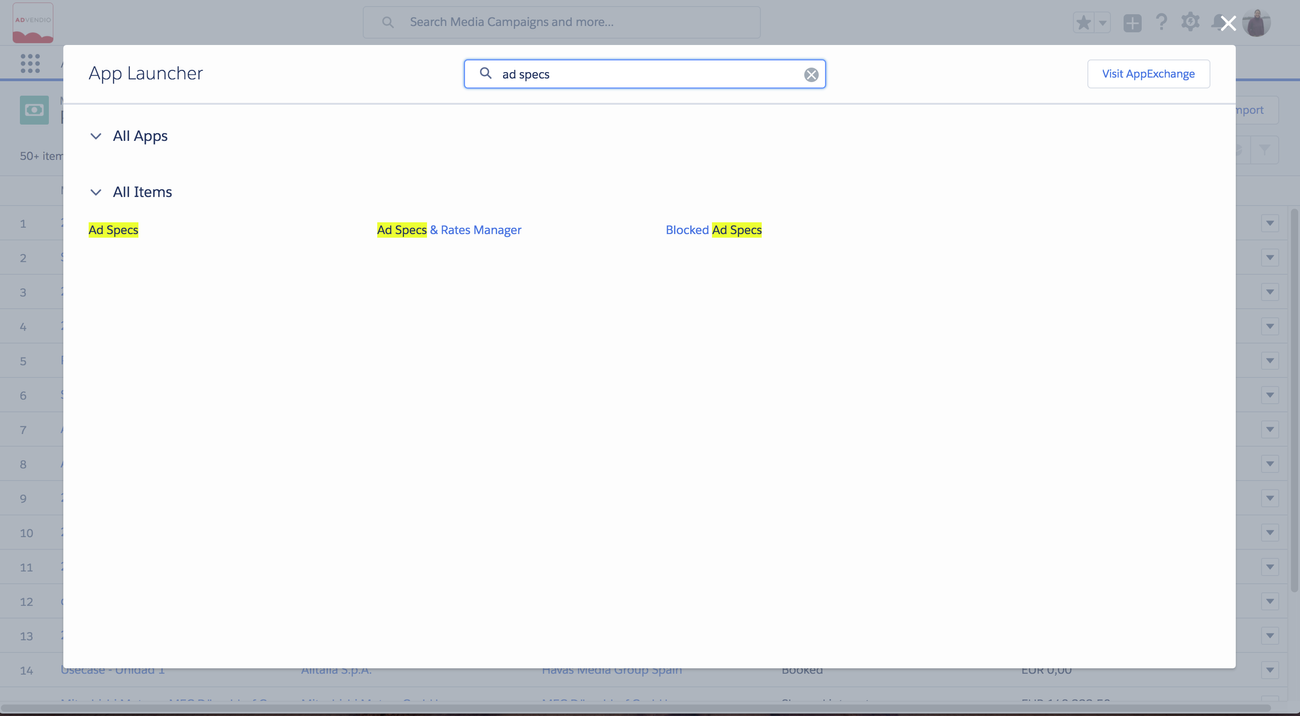
Open the App Launcher and type Ad Spec ... and select the Ad Specs & Rates Manager. Alternatively in Classic either click on the All Tabs menu and open the Ad Specs & Rates Manager or go to the Overview Tab and open the Ad Specs & Spec and Rates Manager (2)from the Inventory Management section.
...
Choose the Site - Placement - Ad Type Triple
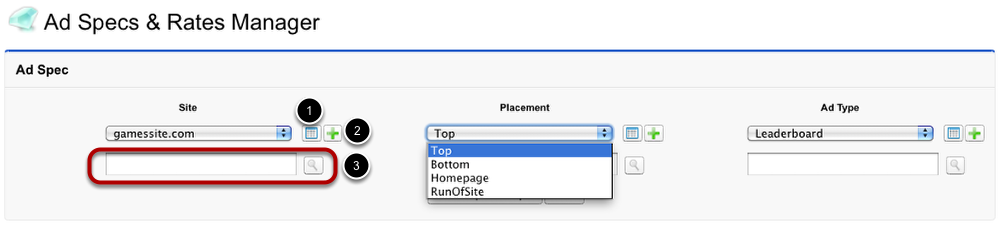
Every ad spec consists of the three parameters site, placement and ad type.
If you select one value from one of the three pick-lists, the selection of the other two parameters will be limited to options available to the already chosen value. If you start from scratch with ADvendio.com, it is necessary to create sites, placements and ad types first. You can either use the green plus buttons here (see step 2 below) or you use the product matrix to import your products (see lesson 'Import Ad Specs with Product Matrix' in the Inventory Management section).
- Click the the View button button to open a new window, listing all available placements. If you use the view option on a placement or an ad type, the new window displays all available ad specs.
- In case the available options are not sufficient, click the the Add New button button to create a new placement, site, and ad type respectively.
- When the pick list contains a lot of entries, you can narrow down the selection using the search tool: enter a letter or a word in the box and click the the Search button button. The available values of the pick list will be limited to the those meeting your search keyword or letter.
Create an Ad Spec
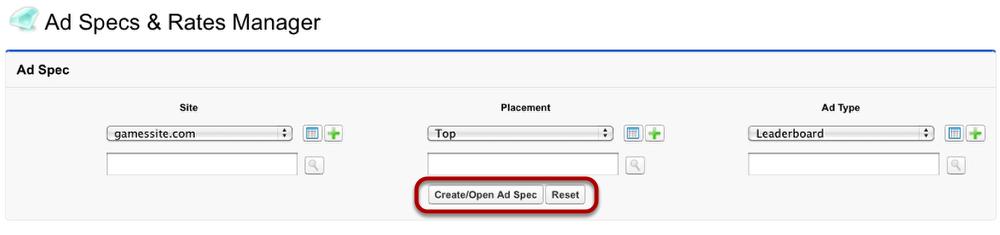
If you have picked one value from each pick list, click click Create/Open Ad Spec to to generate a new ad spec. In case you want to restart the ad specs & rates manager, click click Reset. As a result, all pick list values will return to their default value - the first entry of the pick list.
Add Ad Spec Information
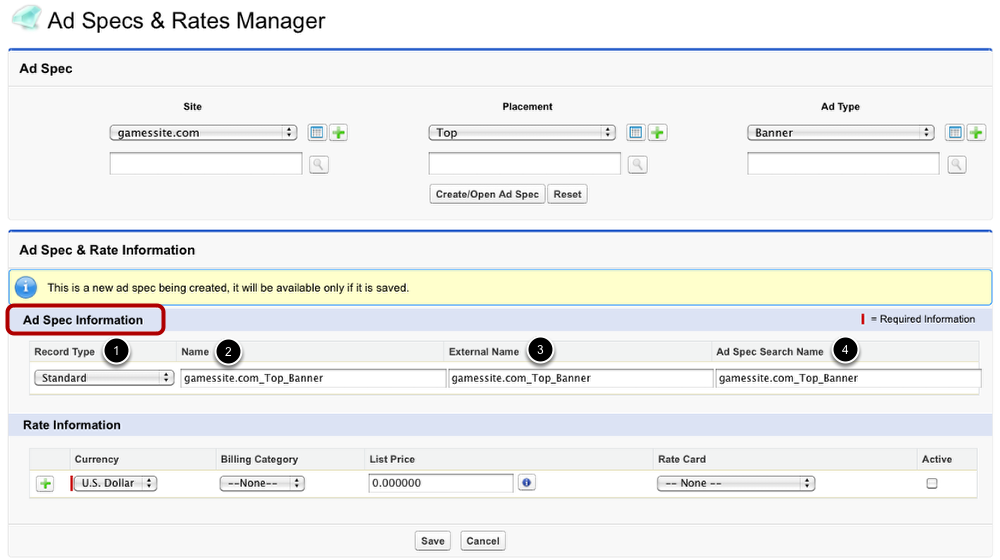
Please note: As long as the ad spec has not been saved, it will be dismissed if you change a value of the three parameters in the top section of the Ad Specs & Rates Manager.
In case the combination of values (site, placement and ad type) has already been created, you see rate information in the lower half. For information on how to edit an existing ad spec, please see "Edit Ad Spec".
- Pick the ad spec's s record type. You can choose between Standard and Packet. Use the latter if the ad spec is supposed to be part of a packet.
- If necessary, change the the ad spec's name.
- The The external name will will be displayed on proposals and order confirmations.
- Change the the search name if if you usually use a different term in your media search.
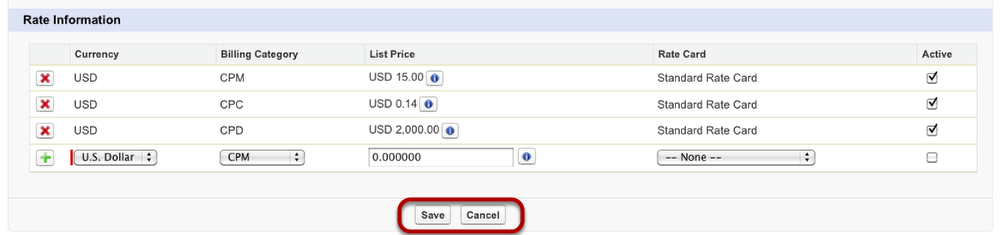
Add Rate Information
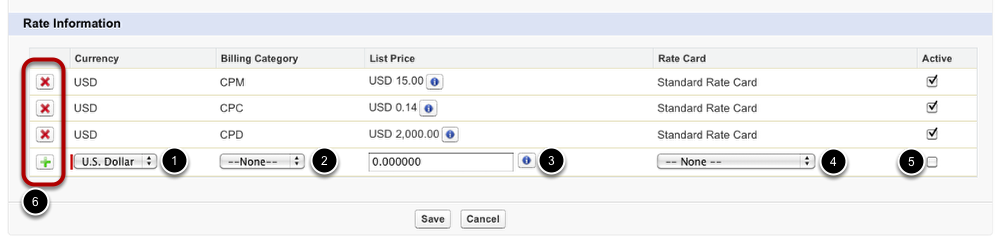
The next step is to provide rate information. You can assign multiple rates to one ad spec.
- Choose the the currency you you wish to apply to the rate.
- Pick a a billing category.
- Enter a a list price. Click on the the info button button if you wish to add add rate steps. (See Add Rate Steps below)
- Assign a a rate card.
- Activate the the rate information to be able to use the rate.
- Click the green green plus sign to to add additional rate information. To delete a rate information, click the the red cross.
Add Rate Steps (to set up graduated/scaled prices)
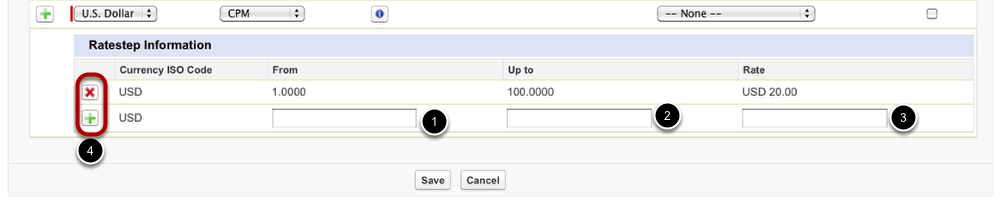
If an ad spec should be assigned different prices depending on the requested quantity, use rate steps to provide the necessary pricing information.
- To define the range of a rate step, enter a value into the field labelled labeled From.
- Set the upper limit of a rate step by entering a value in the the Up to field field.
- Assign a a rate to to each rate step.
- Use these buttons to to add or delete rate rate steps.
Edit Ad Server ID

When you work with an ad server integration, assign the ad server's ID to the new ad spec. Click the button button Edit AdServer ID. A new window opens, displaying available ad server IDs.
Select Ad Server ID
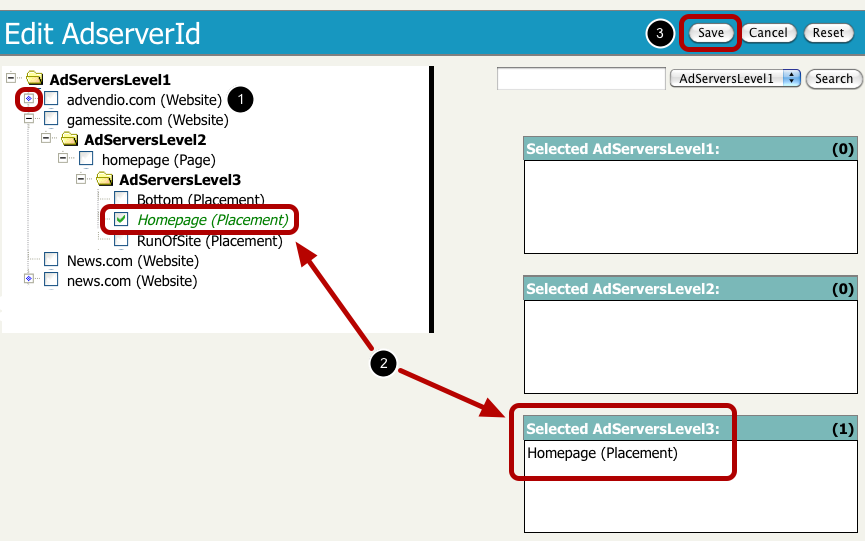
The new window shows a tree structure of ad server IDs.
- Click the the blue signs to to display sub-categories and further entries.
- Tick the box of of one entry to add it to the choice of selected ad server IDs.
- When you are finished, click the the Save button button.
Complete the Creation Process
If all information has been entered, click click Save to to make the new ad spec available for the use in media campaigns. Click on the button button Cancel if if you wish to return to the first page of the Ad Specs & Rates Manager.
Please note: We offer an initial mass import of your complete inventory (see lesson 'Import Ad Specs with Product Matrix' in the Inventory Management section).
Anchor