...
Search for products
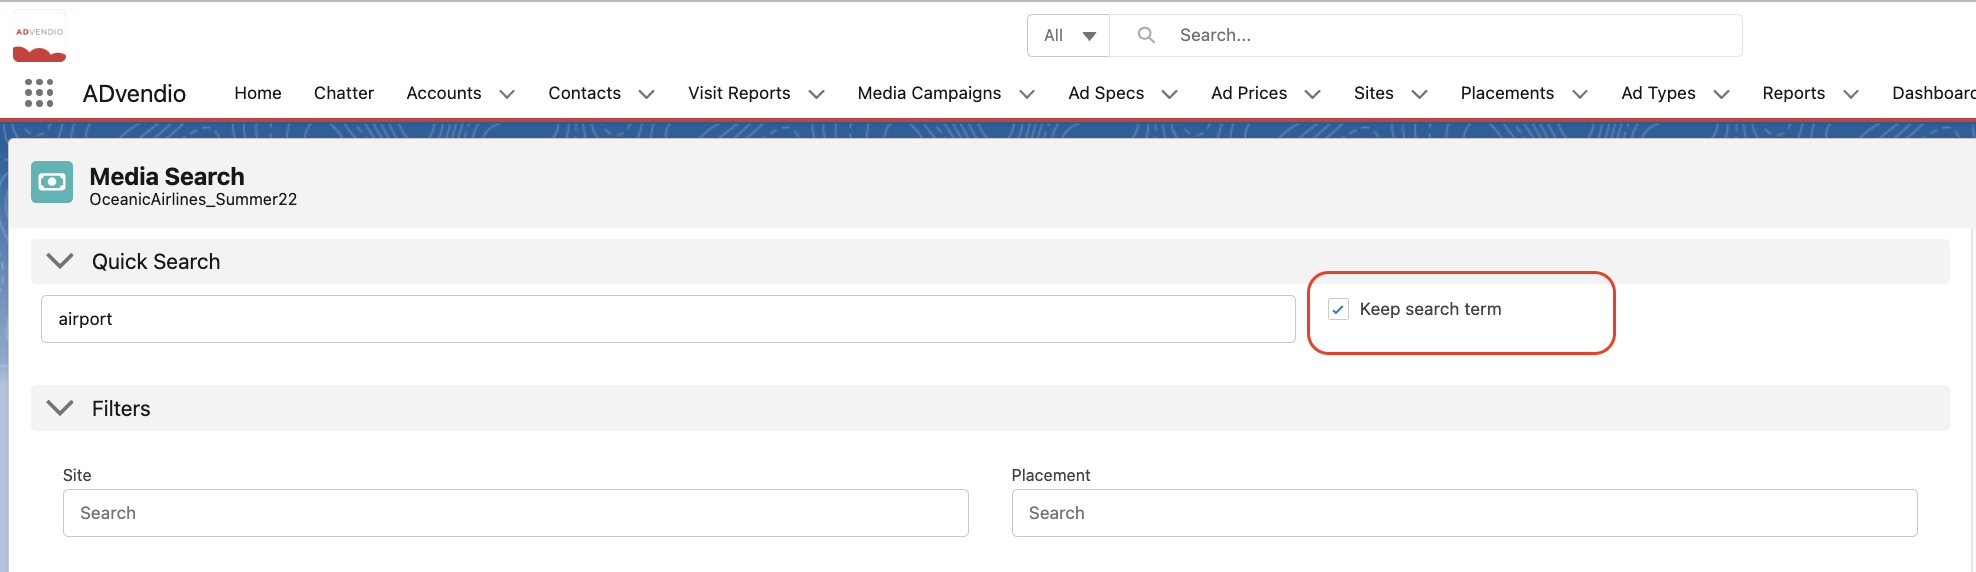
The first section offers you a “Quick Search” field in which you can directly search for the name of your Product, Site, Placement, etc. From ‘Quick Search' you can proceed directly with step 6. “Start media configuration”. You can add multiple items to the basket from the same search term. When the box ‘Keep search term’ is ticked, it's activated and you can start using it. ℹ️ Note: If you do not see this option at all, please ask your administrator to add it.
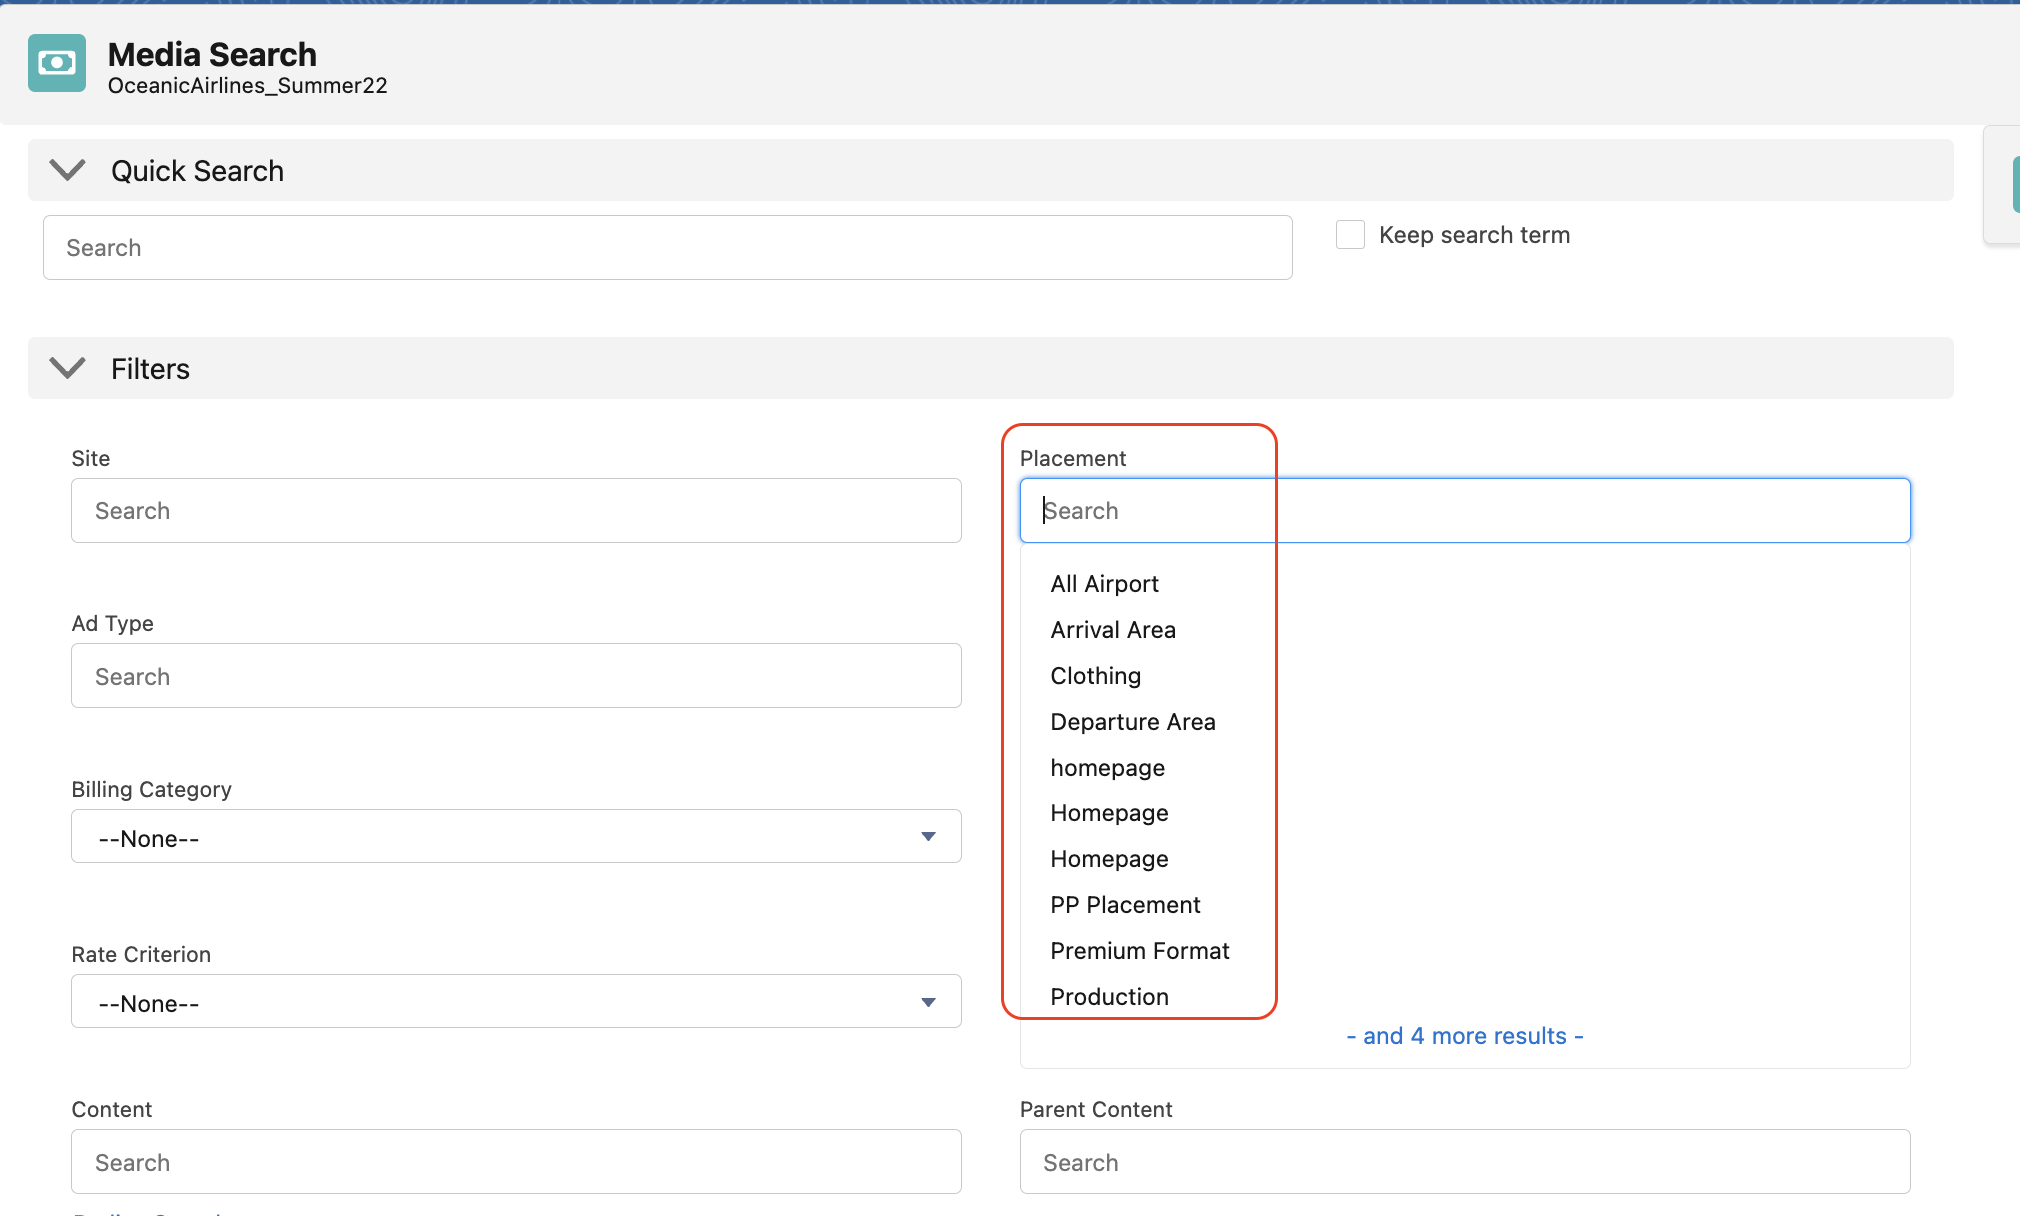
The second section offers many filter fields which can be customized by your Administrator. You can choose multi-select lookup options in the Site, Placement, and Ad Type fields. You can add several options one by one in every lookup. Selections will be added to your basket.
If the Media Campaign in question has an assigned Rate card, this will be pre-filled in the Media Search filter fields.
If a Rate card filter is added or it is predefined, other fields such as the Site or Placement lookups will offer only the inventory that is connected to this Rate card.
Only Ad Specs with the filtered Rate card can be added to the Media Campaign.
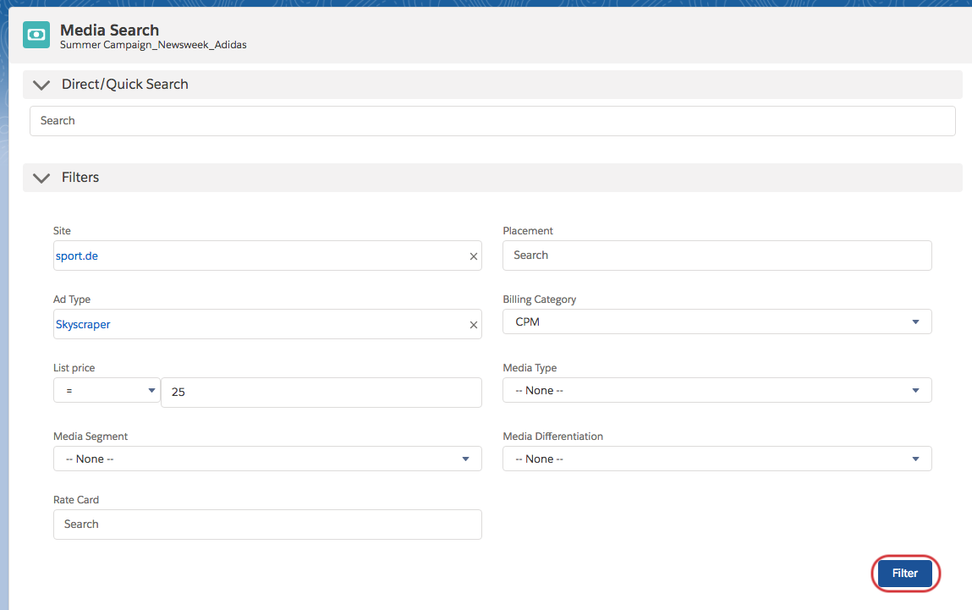
After selecting all relevant criteria please click the filter button.
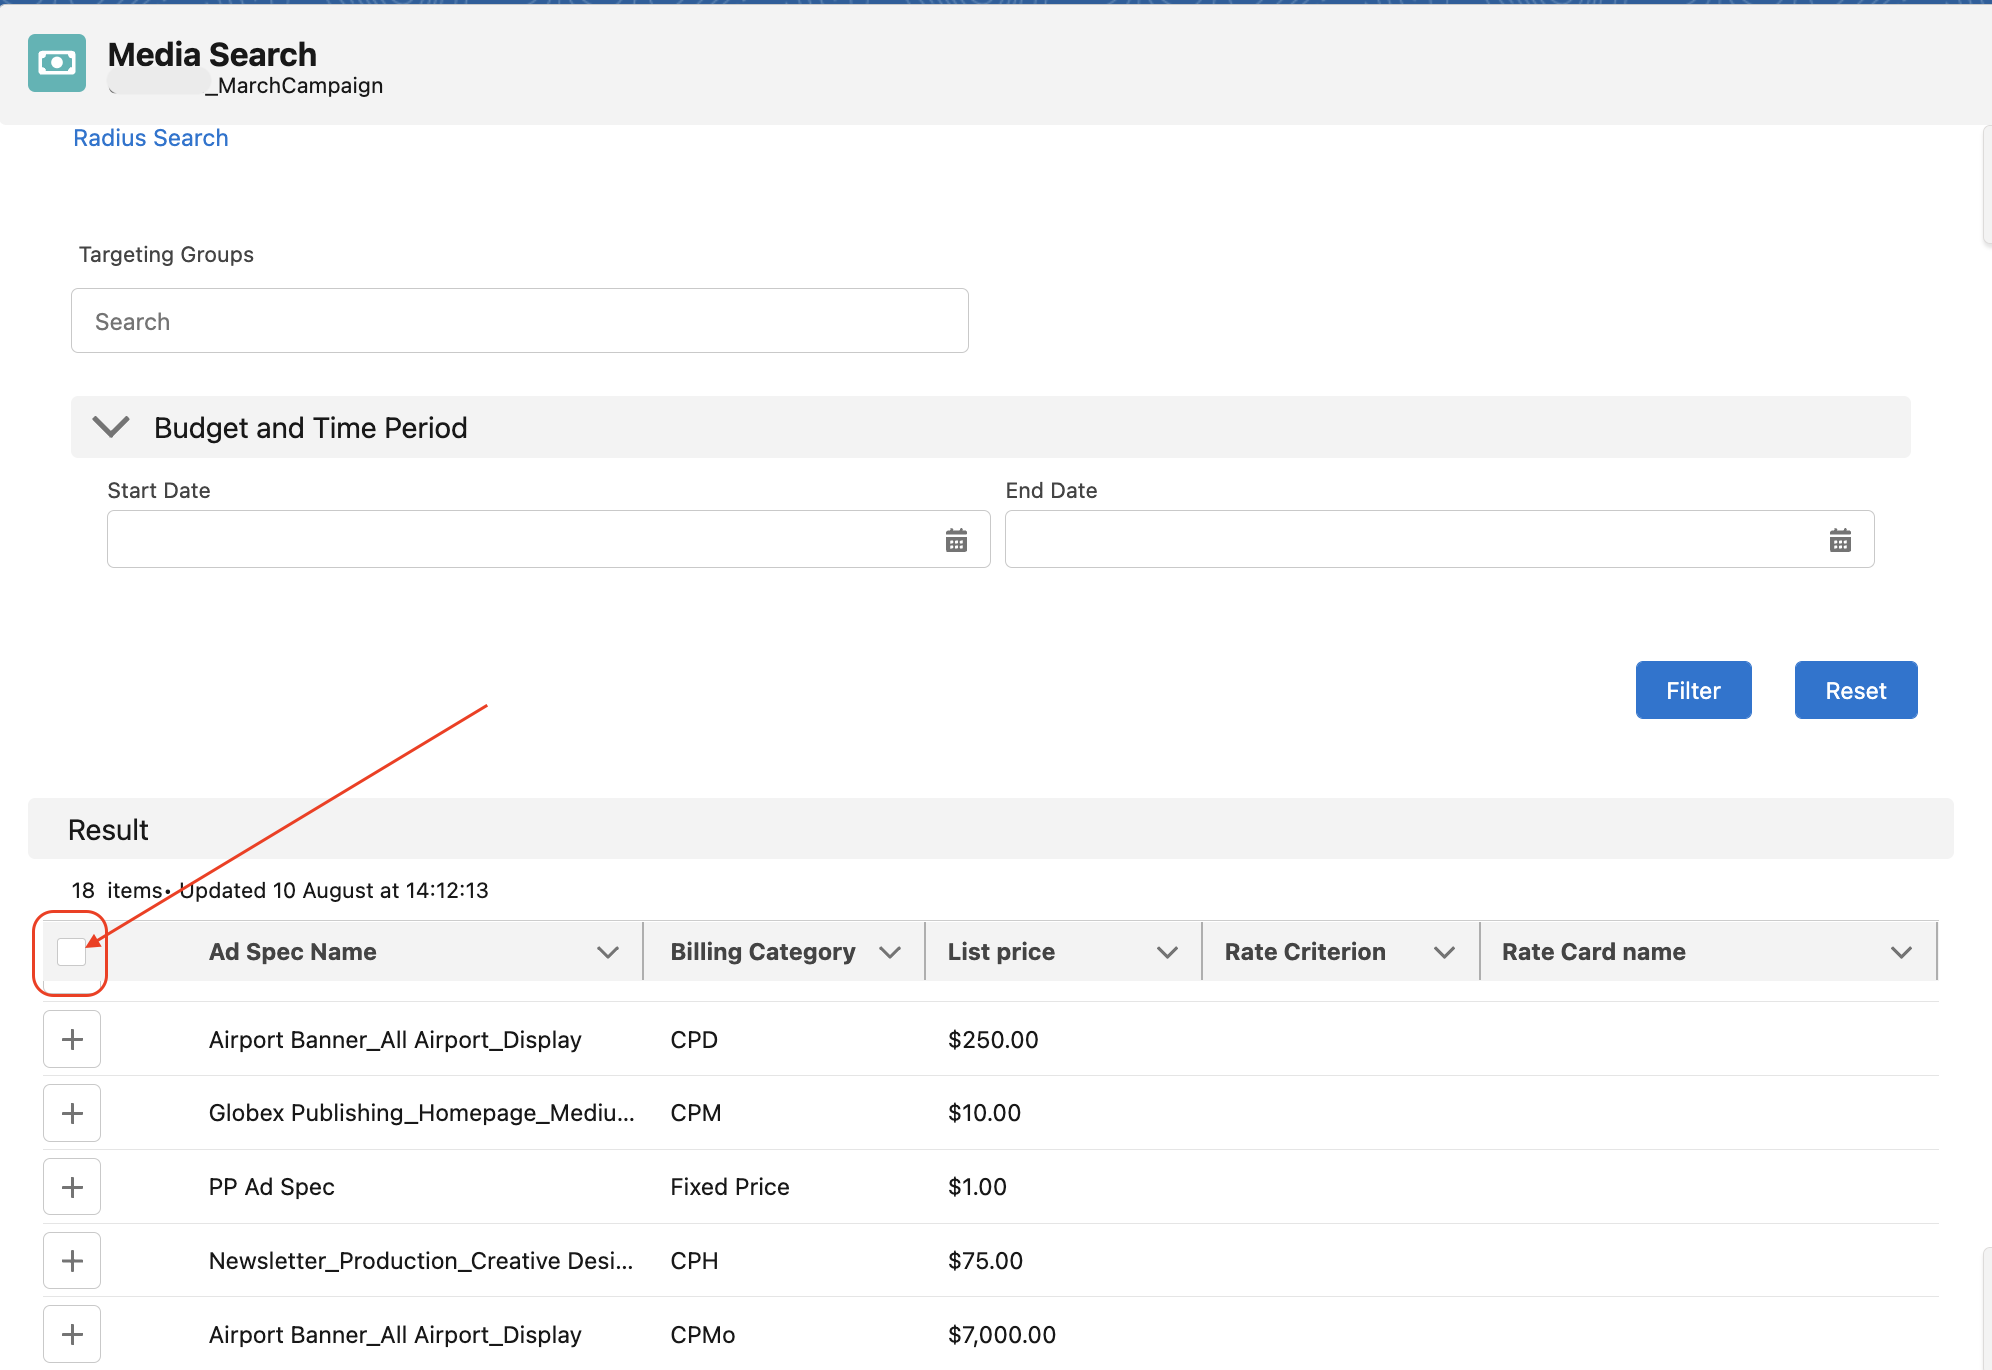
Check results: The results section will show you results found according to the selected filters. Please check the results and click + for any Ad Spec you would like to add to the basket. Alternatively, you can add all Ad Specs items by ticking the box beside the “Ad Spec Name” field.
After selecting the Ad Specs you will notice that they have been added to your “Media Basket” on the right side of the screen.
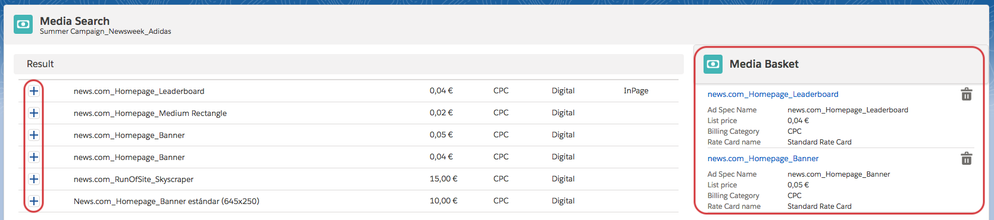
You can remove selected Ad Specs from the basket by clicking the trash symbol. Or you can remove all data from Media Basket if you click the “Unselect all” button.
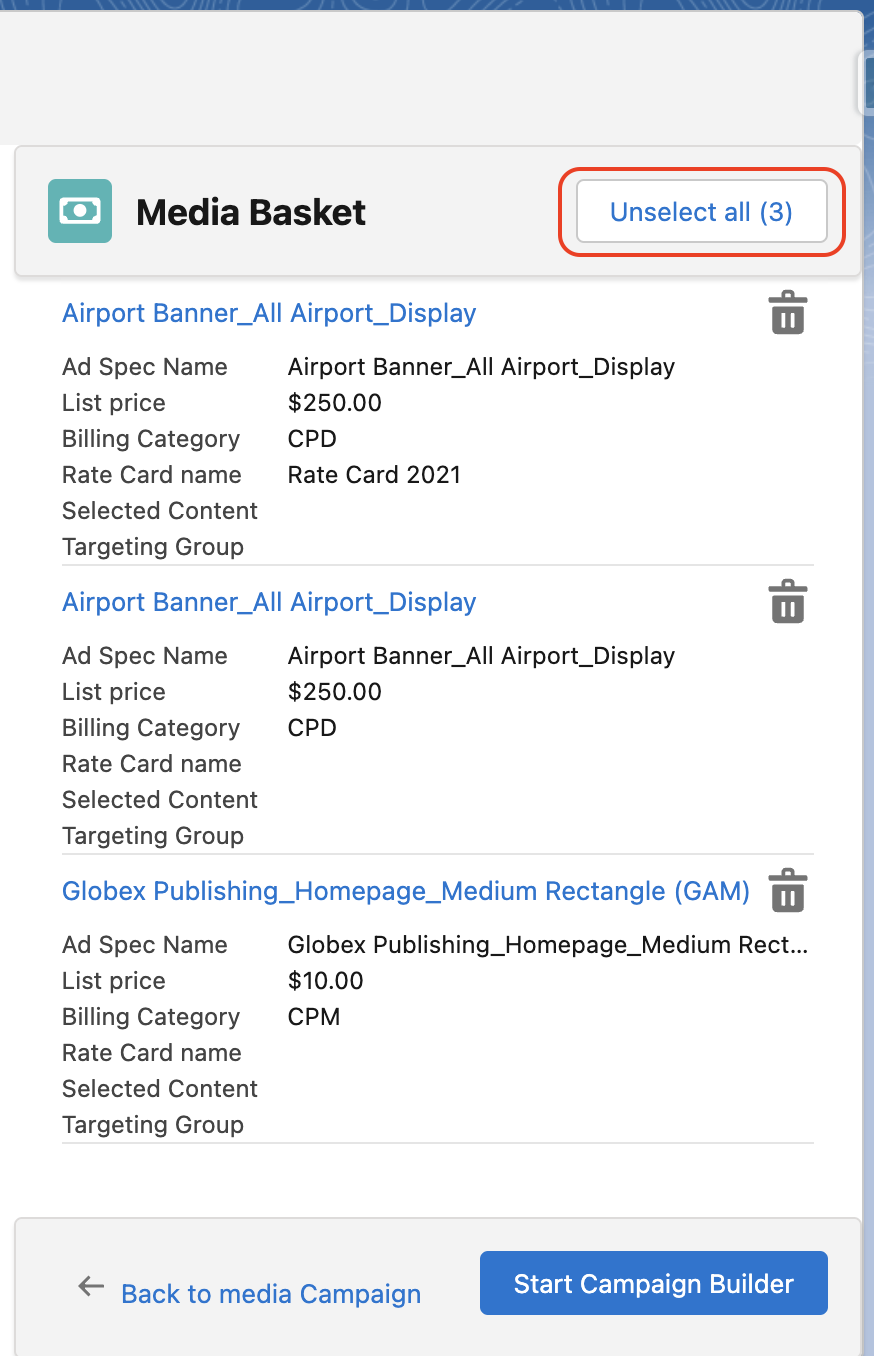
If you are satisfied with the products added to your basket you can press the “Start Media Configuration” button. Alternatively, navigate “Back to the Media Campaign” by using the link on the left.

Arrived in the Media Configuration you can proceed with this article: 4.3 Media Configuration.
...
If your administrator has enabled the Check Availability feature for the Media Search, you will be able to check your availabilities immediately can check availability after filtering and even before adding items to the basket.
...
Type of Ad Price/ Ad Spec | Example Display in Media Search | Meaning |
|---|---|---|
Exclusive Ad Price connected to a content | 1/2 | Of 2 possible contents, 1 is available in your selected time frame |
Exclusive Ad Price not connected to a content | 10 Units | In the selected time frame 10 units are available for this Ad Price. |
Ad Spec connected to an AdServer | 100.000 Units | In the selected time frame 100.000 units are available for this Ad Price. |
...
| Info |
|---|
During the availability check the system will automatically add the applicable Publication Dates to basket items in Media Search. |
Depending on the Setup of this feature you probably start the Media Search on the Media Campaign object.
The predefined filters will probably already be set and you can enter the Media Search with preselected criteria configured Media Search feature may already have preconfigured filters set up by your Admin. You would just need to fill in the filters you would like to set additionally. It could look similar to can simply enter the search with these filters applied and add any additional filters you wish. The interface may resemble something like this:
...
Content filtering
When you are filtering for contents and adding prices to the basket the filtered Contents will be preselected in the Media Configuration. You will also be able to see the selected contents in the basket already.
...